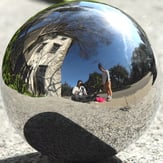
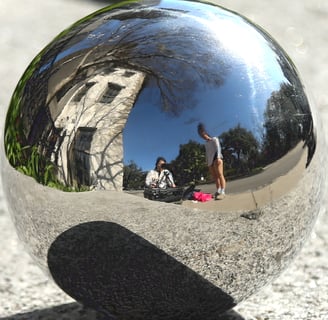
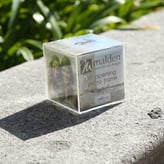
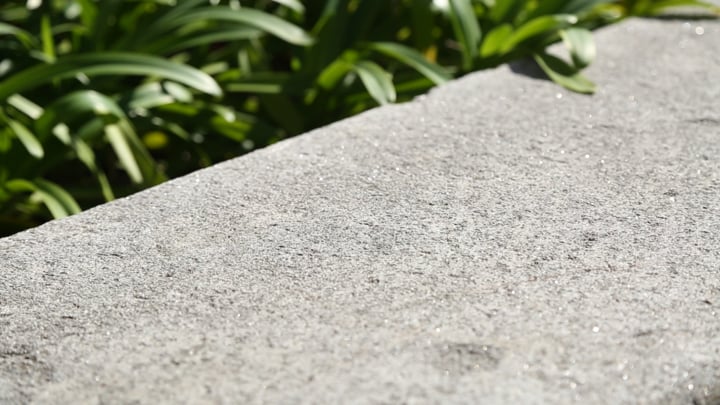
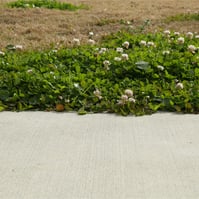
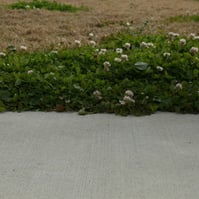
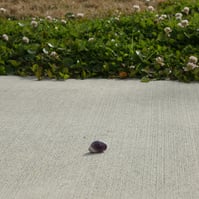
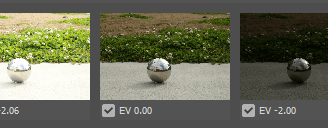
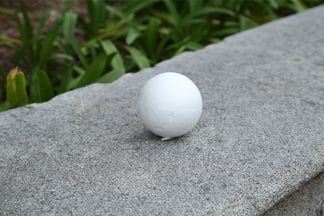
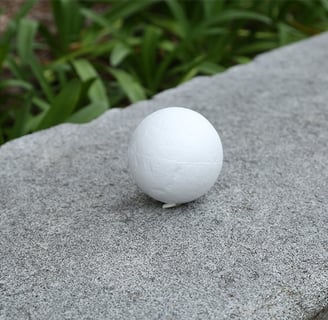
Over the weekend, Eva and I borrowed the Canon EOS 5D Mark III from Monty and ventured to Forsyth Park to capture some photos. I opted to shoot my photosets on the stone bench near the Deloitte Foundry.

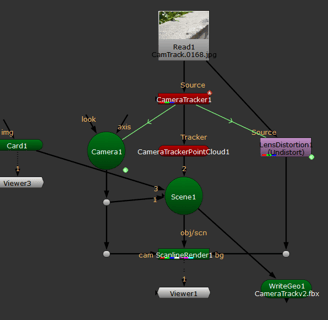
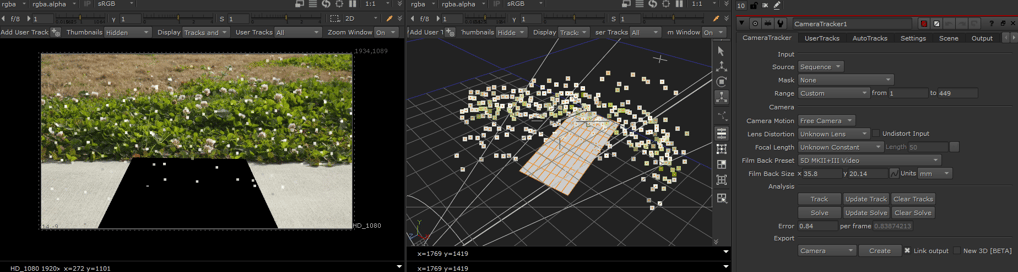
To start my first attempt at using Nuke for 3D Camera Tracking, I utilized the Camera Tracker [3D Classic] node and increased the number of features to 400 while setting the feature separation to 20. After initiating the Track and Solve process, I checked the Solve error number, initially obtaining 0.55, which was satisfactory. However, I decided to fine-tune the settings in the AutoTracks and then retracked the footage. While the Solve error increased momentarily, eventually it settled at 0.79 which is close to 1 but lower than 1.
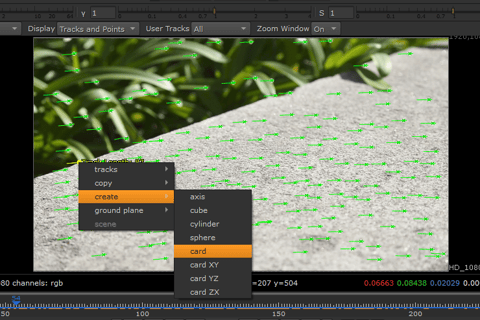
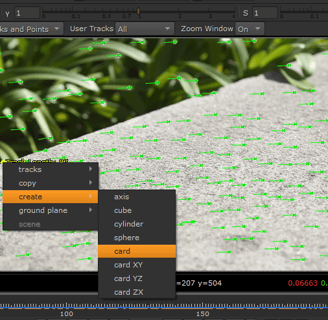

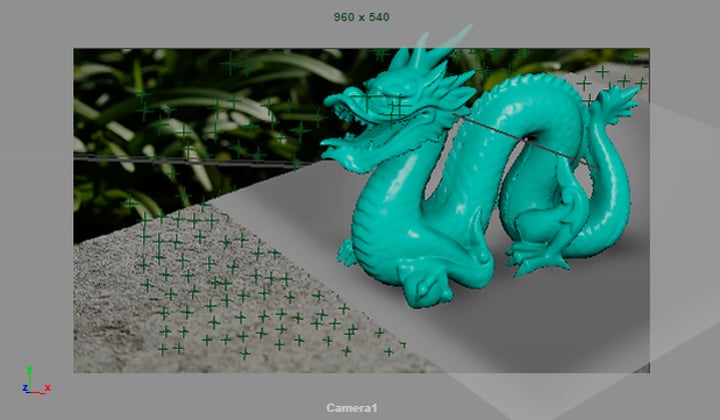
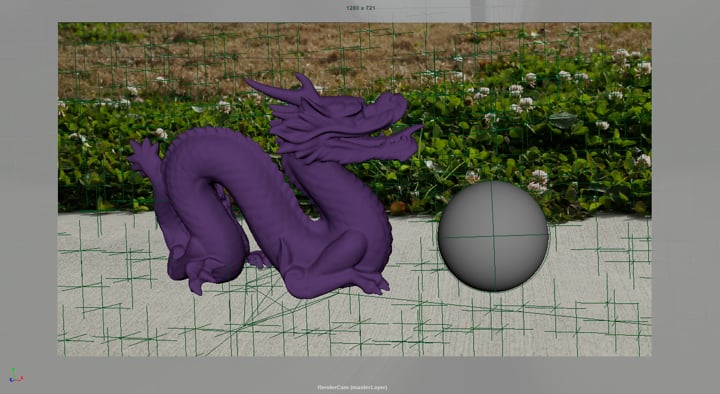
After completing the tracking and solving process, I used a card to align and scale the scene before adding the cameras. Opening another viewport set to 3D view, I scaled down the card to match its perspective with the surface of the stone bench in the clean plate displayed in my original 2D viewport. When it matched, create Scene+ to add a template with cameras, point objects, and so on.
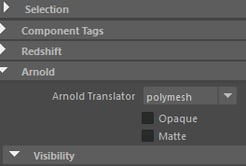
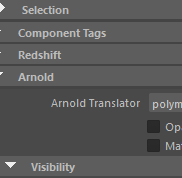
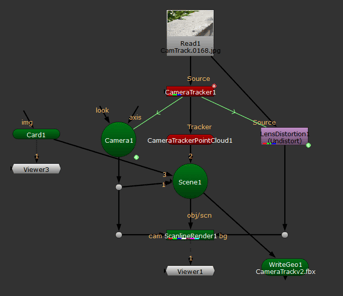
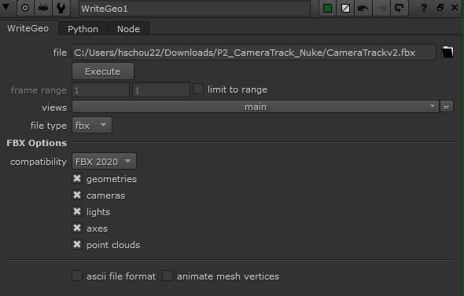
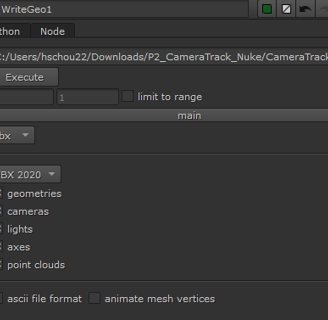
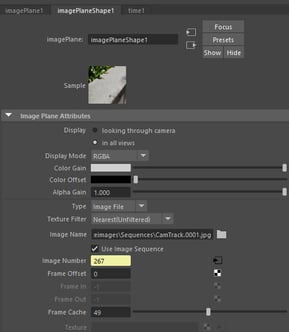
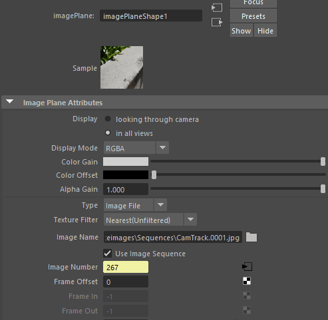
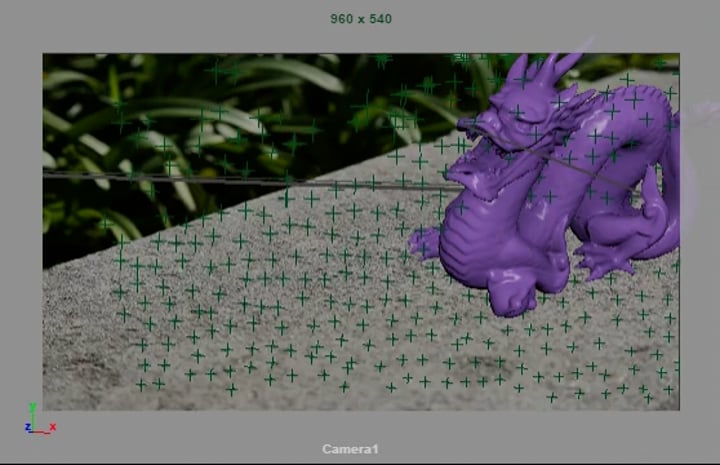
Next, I utilized the WriteGeo node to export the scene, including cameras, trackers, cards, and other elements, into an FBX file which I then imported into Maya. After imported, I grouped them and named the group 'import_track'. In the imported camera, I utilized the clean plate with camera movement sequences as the image plane. Then, I imported the Dragon geometry provided by the Professor and positioned it on the geometry plate created in Nuke using the card node.
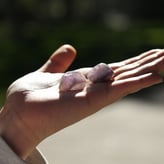
Since my previous photosets were overexposed, I decided to reshoot another set. However, I'm still unsatisfied with the current version due to the depth of field being focused incorrectly. I plan to seek further instruction on using the Canon camera from my photography roommate. Due to the weather and time constraints, I'm unable to reshoot a new set. So I followed the same method as before, re-tracking the camera movement in Nuke to progress with the assignment. If time permits, I intend to reshoot the set to achieve better results.

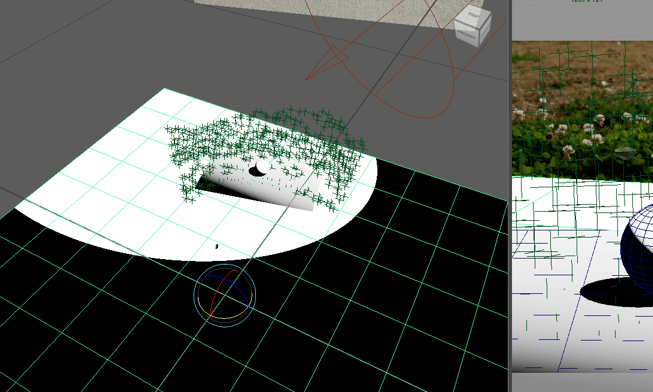
This time, the error rate increased to 0.84. Subsequently, I exported the camera geo to Maya and positioned the entire group flat on the ground, simplifying the placement of CG objects.
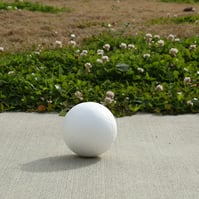
When positioning the key light, I encountered an issue where the card plane exported from Nuke didn't reflect the shadow cast by the grey ball. So, I added another plane created in Maya, and this time the shadow appeared. However, I still faced another problem while matching the key light. I spent a lot of time trying to match the shadow in my grey ball reference but couldn't get it perfectly aligned. I assumed this might be due to the incorrect perspective of the card in Nuke or possibly an issue with the video perspective. Need to keep working on trouble shooting.

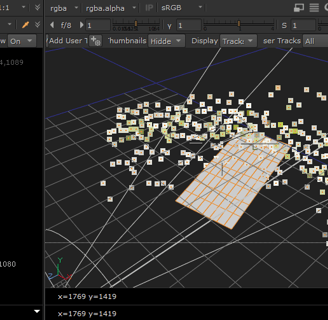
New camera tracking test
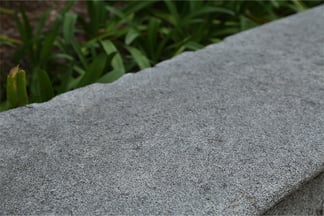
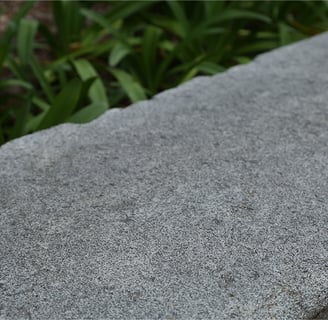
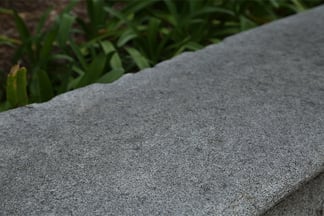
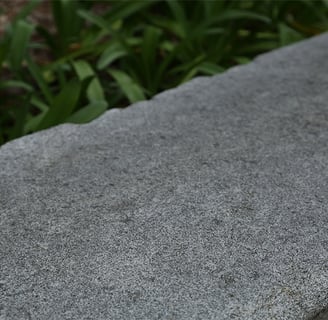
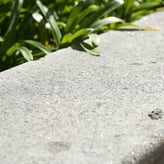
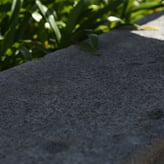
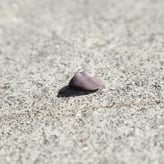
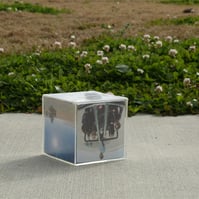
These are the photos I took when I visited the original spot, but the weather was too bad. There wasn't much difference between the clean and shadow plates.
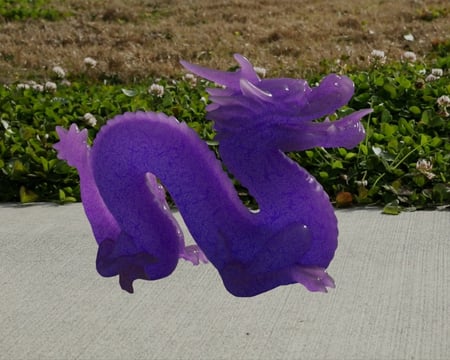
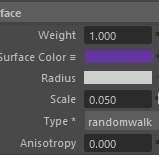
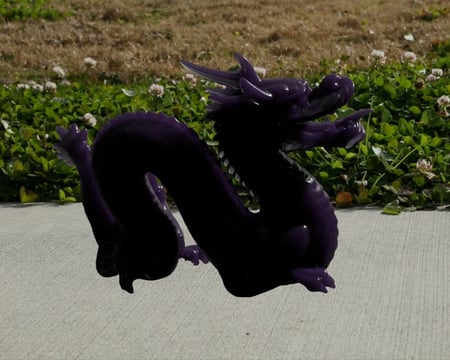
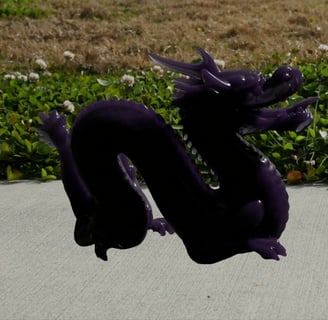
After studying the course content on Maya shading, I created the SSS layer(add CG object with Key light) and Glass layer(add CG object with Key light, GeoDome, and ground plane) separately, and experimented with subsurface scattering and glass materials on the dragon geometry. I'm eager to explore more shading techniques to achieve a crystal-like appearance in the Project 2b.
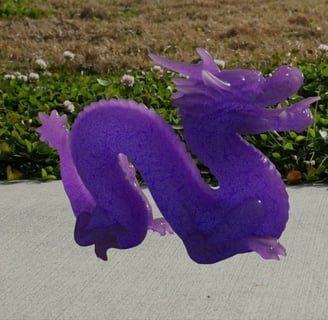
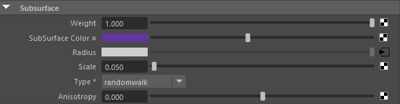
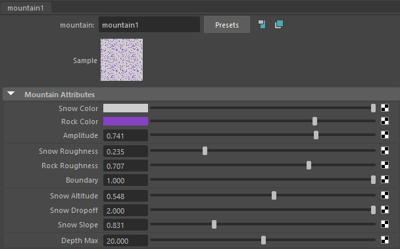

Subsurface Scattering Layer: I used mountain texture to create inner pattern.
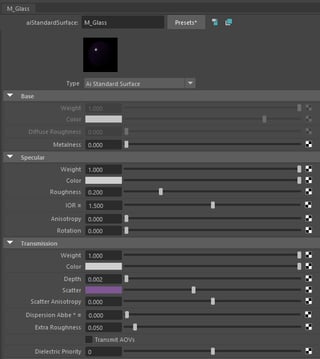
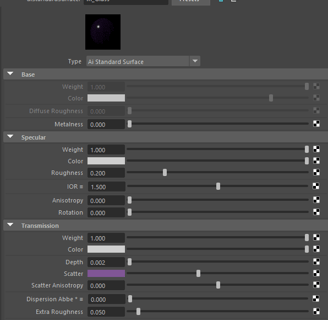
Glass Layer: Playing around the extra roughness.
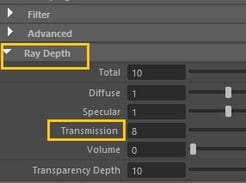
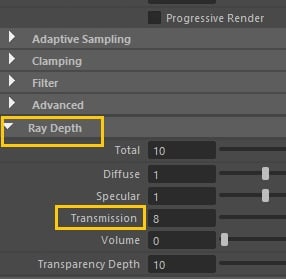
Increase the transmission ray depth to allow light to pass through both the front and back without creating any black spots.