


Applying the techniques discussed in class using a BG Plate from the Resource Library. I'm revisiting how to determine the focal length to align with the perspective of the BG plate and position the lighting accurately. I intend to capture my photosets for this project over the weekend.
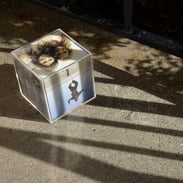
I borrowed a Nikon D850 camera from my roommate, who is a photography major, and started taking photos this weekend during the good weather after the storm.
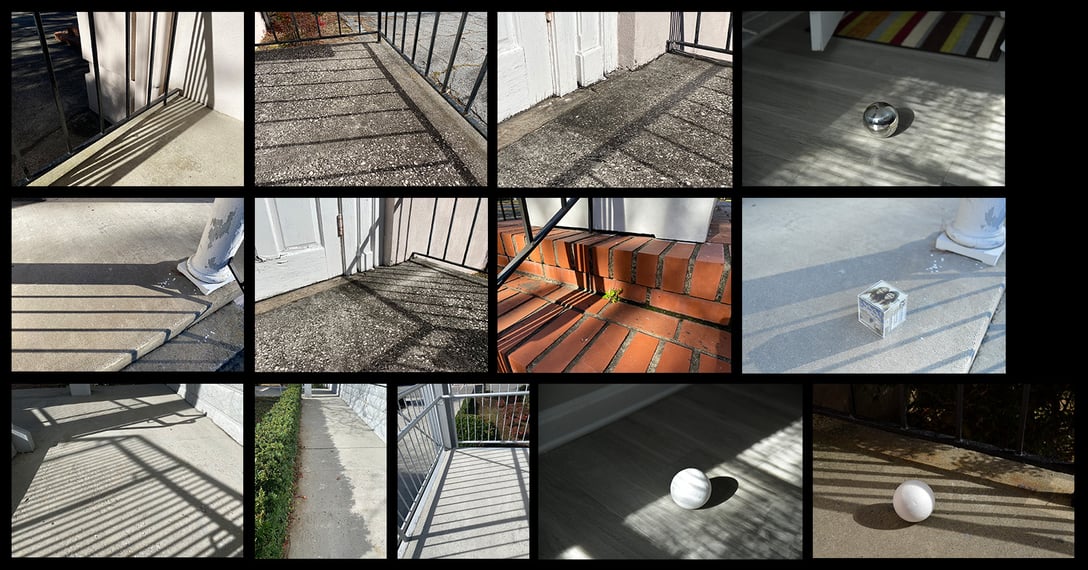
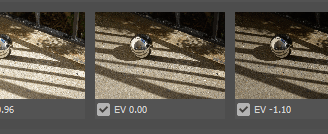
Although the camera differs from the one showcased in class, the Canon 5D Mark III, I initially struggled with settings like 'White Balance,' 'HDR,' 'AEB,' and more. However, it became a new learning experience to achieve similar results using a different camera.


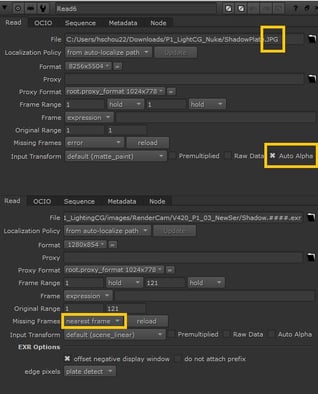
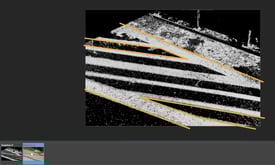
The next step is integrating the shadowof the fence into the CG object. The first step is to create a new layer called 'PreForShadow' (add Ground SurfaceShader + Object) and create a camera at my key light. (Select the key light and select View>Create Camera View, rename: KeyLightCam). Next, import the Clean Plate into Photoshop to create a rough PreShadow map by painting the shadow white and the rest of the part black. Back to Maya and assign that map to the ground. Be sure the shadow of the map is matched exactly as the clean plate.
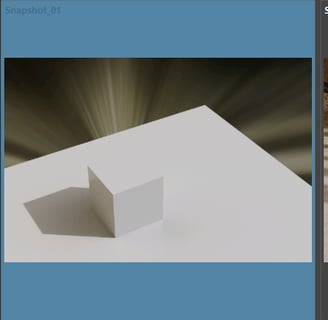
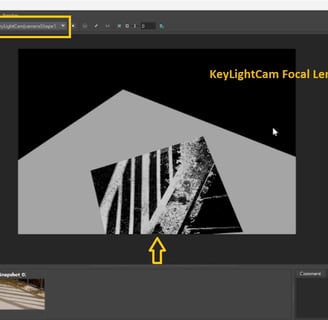
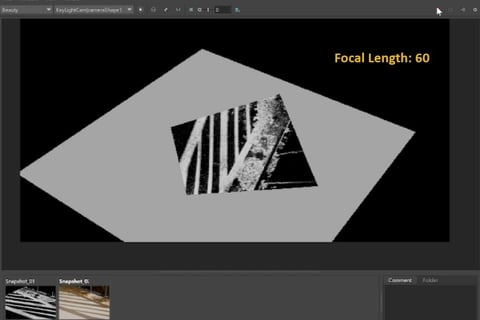
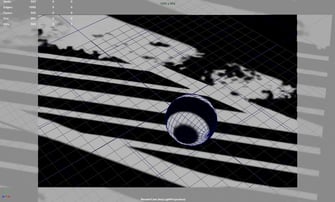
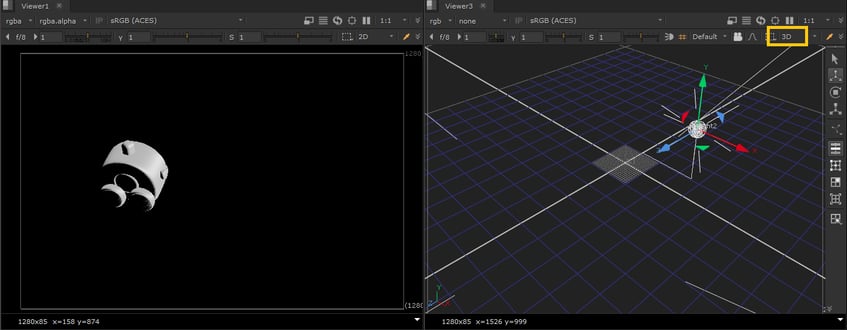
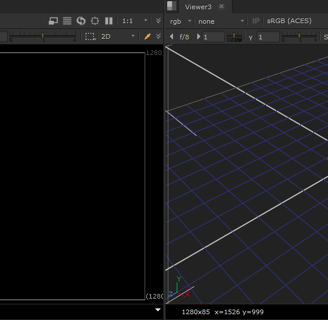
Next, I have to fine-tune the focal length of KeyLightCam to encompass both the object and the entire area where the CG object will animate. The crucial step involves opening the Render View and rendering it in KeyLightCam to inspect the plate for any cropping. In my instance, initially setting the focal length to 80mm was too close and resulted in cropping. To avoid this, I adjusted the focal length, ensuring that the map wasn't cropped by lowering it appropriately.
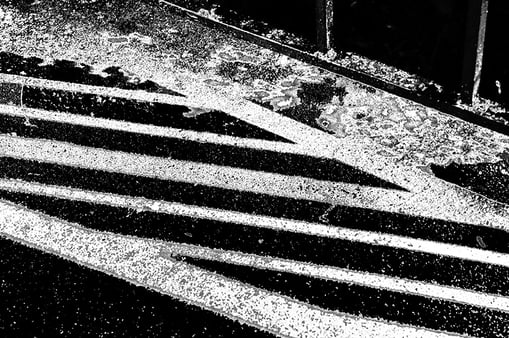
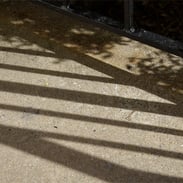
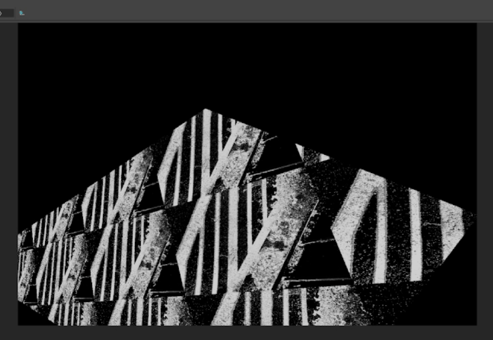
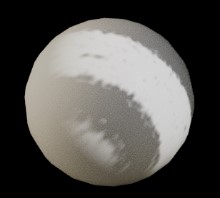
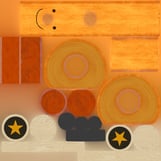
The rough PreShadow Map, do clean up later.
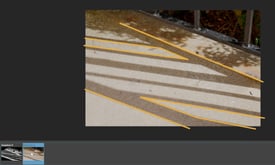
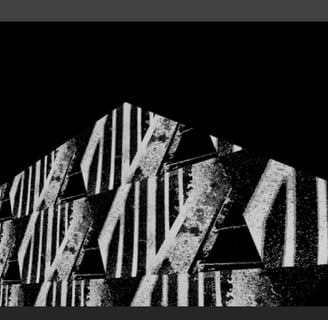
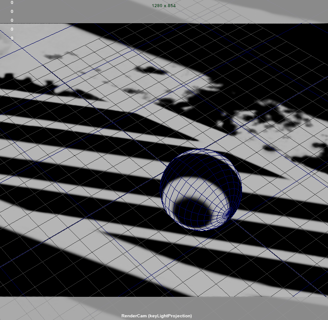
Utilizing the Render View is essential to ensure a perfect match between the shadow and the clean plate.
Additionally, I encounter a blank area in the upper-left corner, a straightforward solution is to scale up the ground plate.

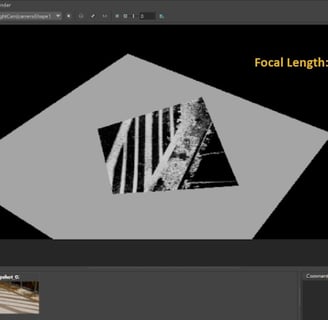
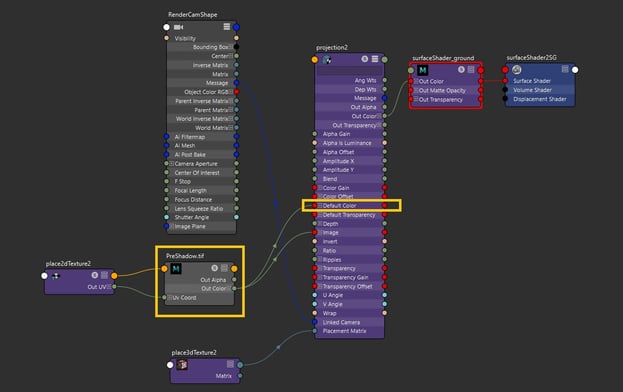
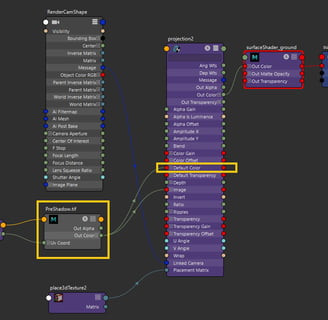
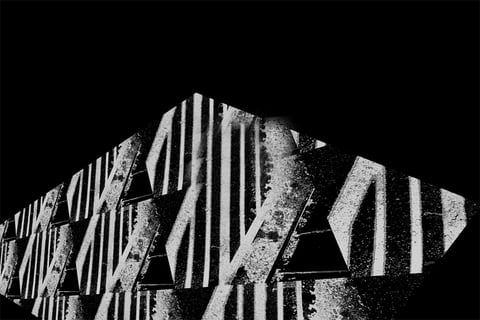
I aim to make the map repeat to fill the blank area on the ground plate (check it in RenderView, since the viewport is repeating but not in the render). In the node graph of the ground plate, I made adjustments by connecting the Out Color of the PreShadow map to the Default Color of the projection2. Subsequently, I saved the rendered image as 'PrepRenderFromKeyLight' to finalize the shadow area where the CG object will animate.
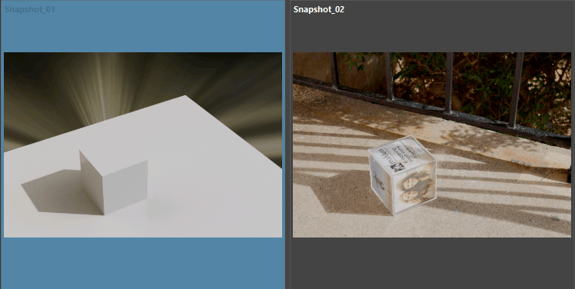
Before finalizing the PrepRenderFromKeyLight image, I conducted a test in the Maya viewport to identify the areas where the ball would pass. This step ensures that I don't invest excessive time in painting areas that won't project onto the CG project in Photoshop.
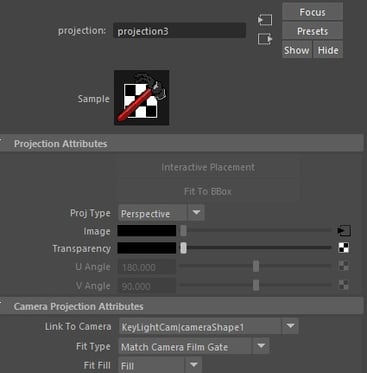
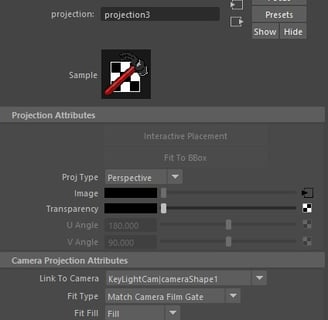
In Maya, I created a new layer named 'KeyLightProjection,' encompassing the Ground Plate (add Ground Plate [primary visibility off] + Object). I assigned both the ground plane and CG object a new surface shader labeled 'ShadowProjection.' Subsequently, I applied a texture map with a camera projection from KeyLightCam containing adjustments in Photoshop. Render this layer in the RenderCam. In the Camera Projection Attributes, I linked it to KeyLightCam. The default fit type, "Match Camera Film Gate," works for mine. However, if any distortion appears on the ground plate, I can adjust it to "Match Camera Resolution.
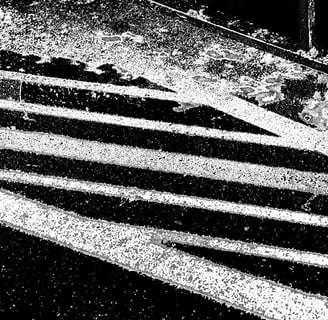
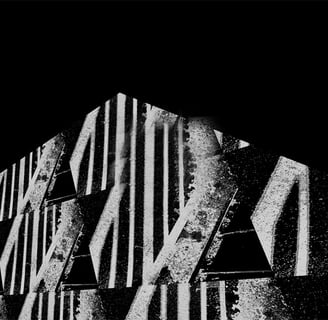
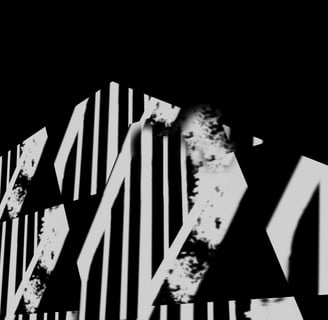
Paint Fix Render From KeyLightCam
Verify if there are any issues with the projection, and if identified, return to Photoshop for necessary fixes. Ensure not to close Photoshop prematurely!
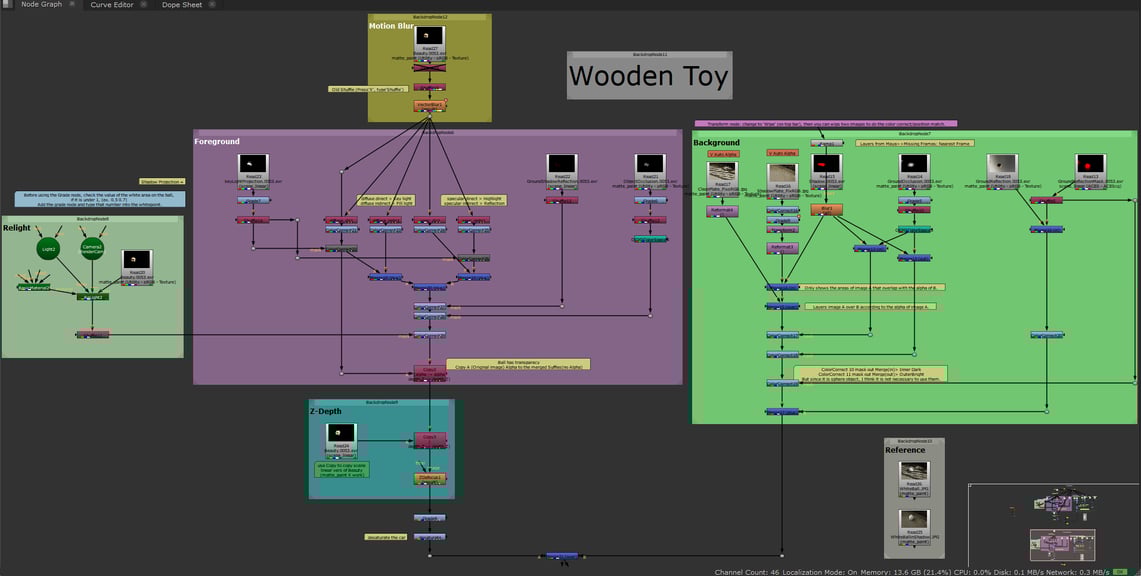
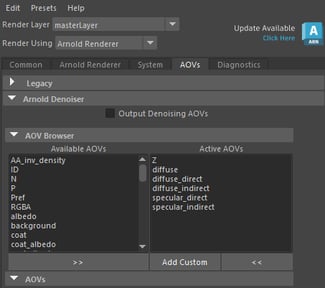
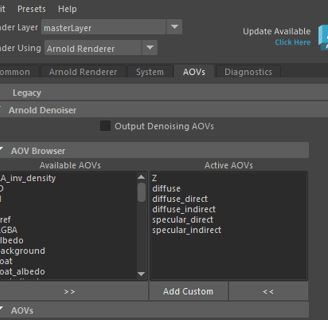
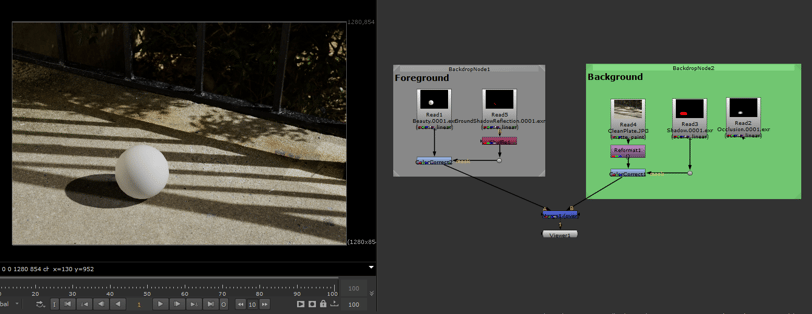
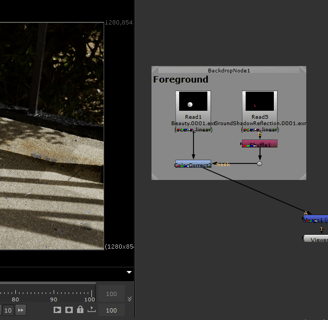
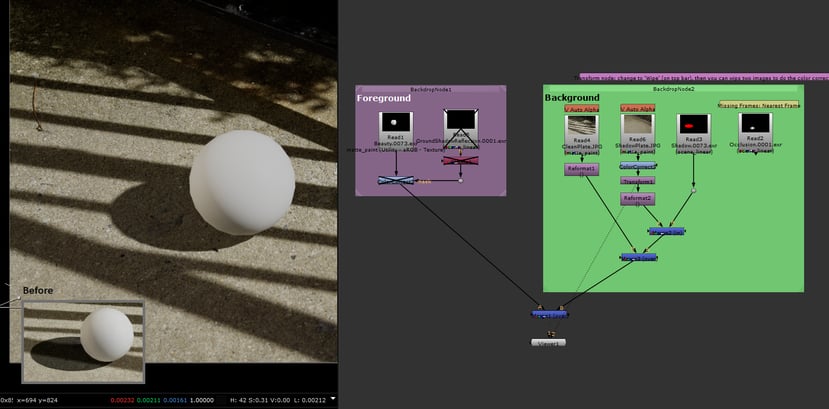
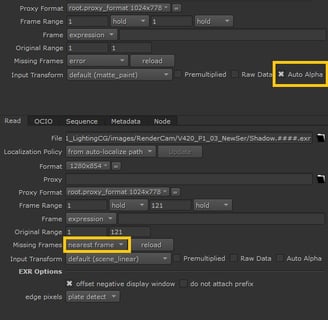
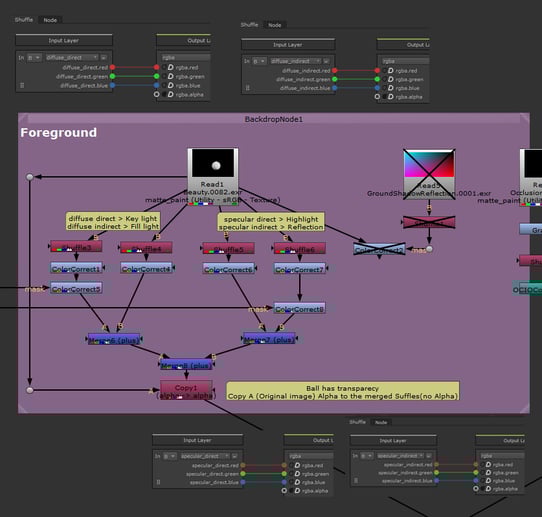
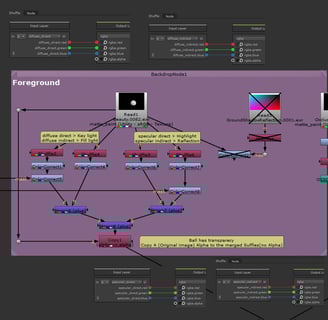
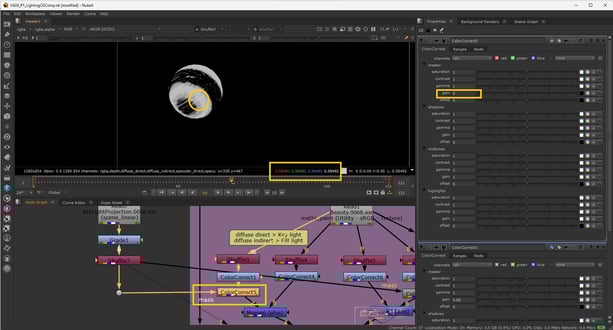
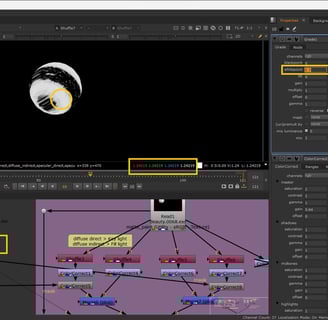
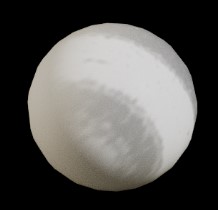
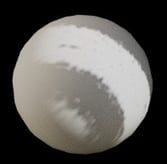
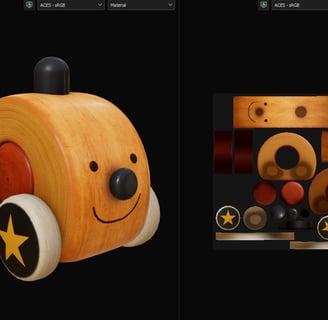
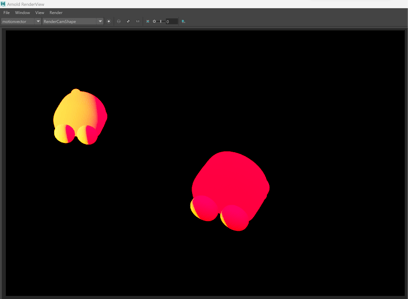
In Nuke, I used 4 Shuffle nodes to separate components such as 'diffuse-direct,' 'diffuse-indirect,' 'specular-direct,' and 'specular-indirect' through AOVs providing a more precise level of control over the appearance of the ball in post-processing by using ColorCorrect Nodes.
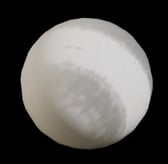
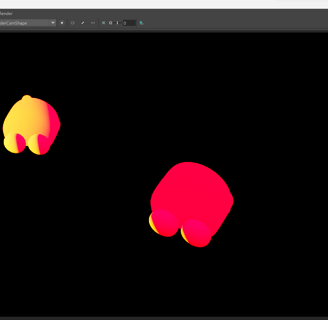
After applying Shuffle nodes for post-processing on the ball, it appears translucent due to the loss of Alpha during the Shuffle adjustments. To address this, I added a Copy node to copy the alpha channel from the original beauty image to the merged Shuffle image.
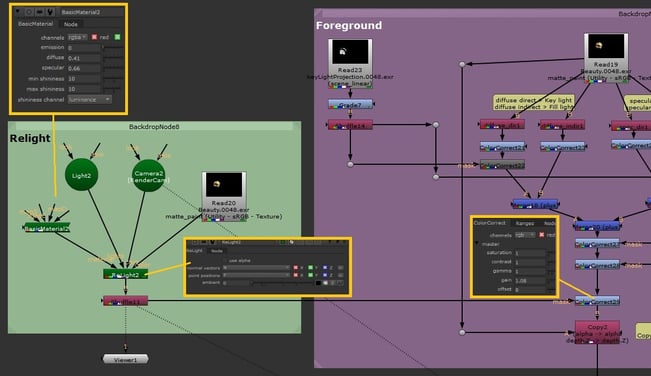
Next, I imported the KeyLightProjection sequences into Nuke and connected a color correction to the diffuse direct AOV. I utilized the KeyLightProjection alpha as the mask to shuffle out the shadow. Additionally, I incorporated a color grade under the Projection sequences to adjust the whitepoint parameter.

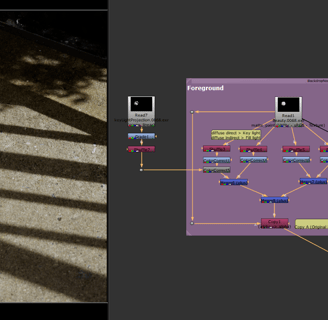
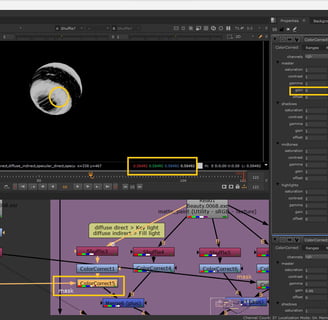
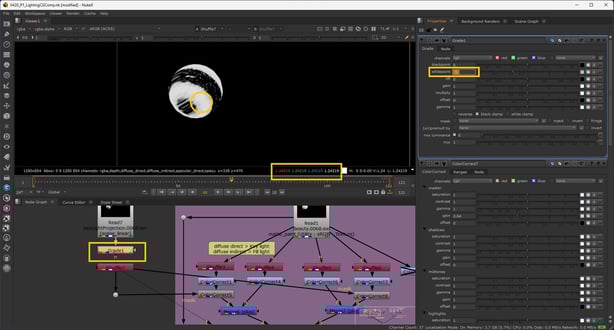
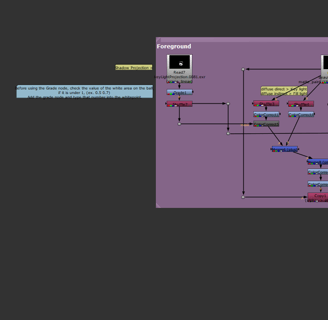
However, I encountered an issue with the stretching shadow on the object. With Professor Gaynor's guidance, I identified multiple issues in my network. The primary mistake was my habit of connecting the arrows in the wrong direction. They should be connected backward, or I will easily make a misconnection. Secondly, the second ColorCorrect node under the diffuse direct needed its mask arrow to connect to the Shuffle node of the Shadow Projection. Additionally, setting the gain to 0 to reverse the mask. This correction was also applied to the specular indirect. The third mistake involved the incorrect whitepoint value in the Color Grade of the Shadow Projection. Upon inspecting the Shuffle node of the Shadow Projection, I noticed that the value of the white area of the object was under 1, showing 0.5. Adjusting the whitepoint value to 0.5 in the Grade node increased the intensity of bright areas, making the shadow darker (by reading the second Color Correction of the diffuse direct AOV) and effectively resolving the issue.
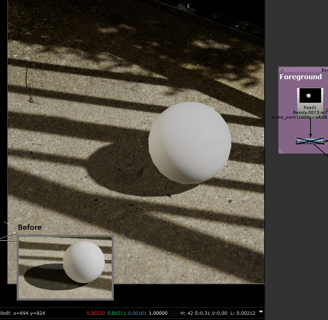
Today, I had access to a computer equipped with a Wacom Cintiq 22HD tablet, allowing me to paint the shadow projection in greater detail. After applying a combination of filter adjustments, here is the current result. If time permits, I plan to further refine the softness/sharpness of the shadow.

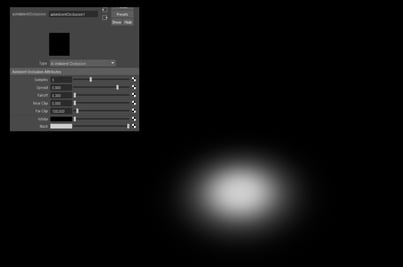
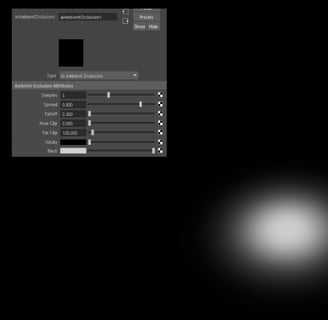
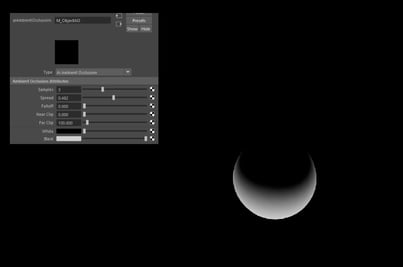
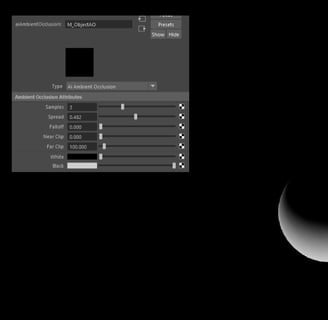
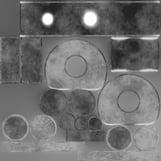
Successively, I composited the Occlusion to create the contact shadow of the CG object. In Maya, I separated the ground plate and the object into their own Occlusion layer to gain more precise control over the ambient occlusion. I adjusted the Spread and Falloff values of the aiAmbientOcclusion to achieve a wide and soft spread result, providing enhanced control in Nuke.
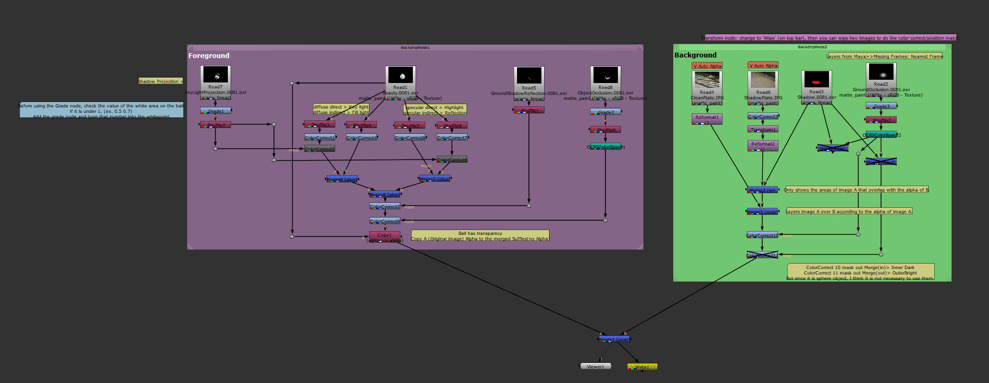
In my previous composite project, 'Match to Live Action,' I gained experience in utilizing Shadow and Ground Occlusion layers to depict both the deep shadow in the original shadow and a brighter outer shadow through the use of merge(in) and merge(out). However, upon reviewing the outcome, I realized that for a sphere object, this intricate layering might not be necessary. Nonetheless, I opted to retain the nodes in my network as a precaution in case my actual CG object differs from a sphere.
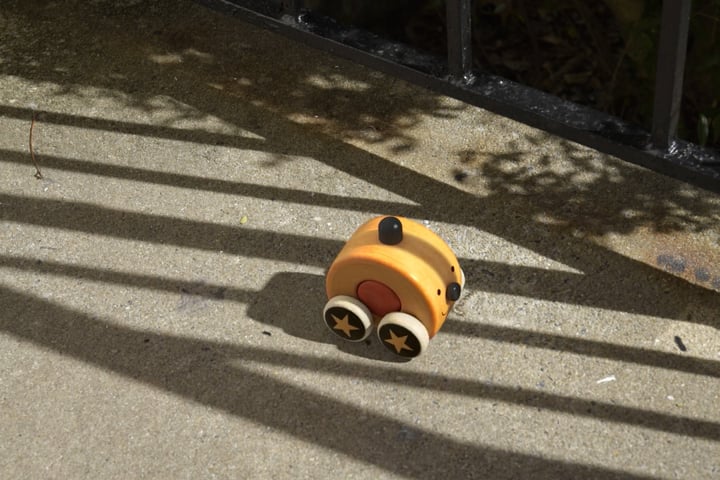
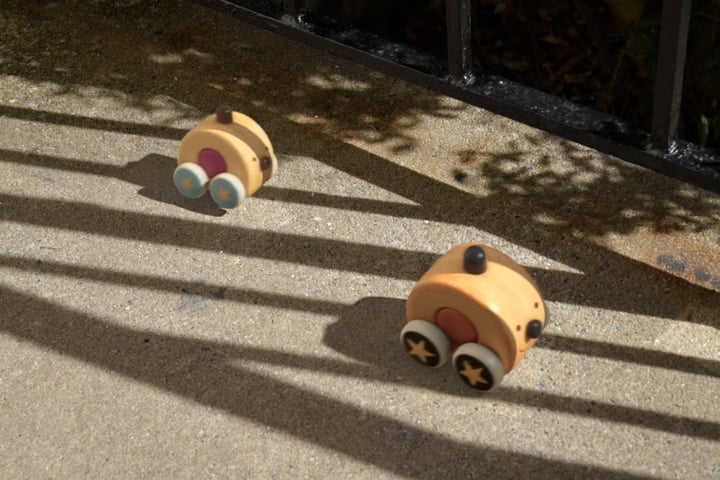
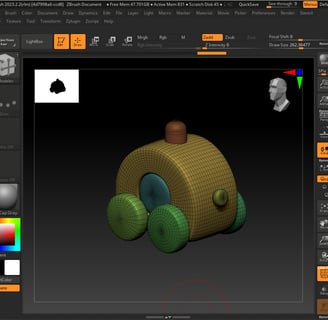
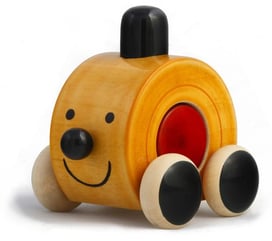
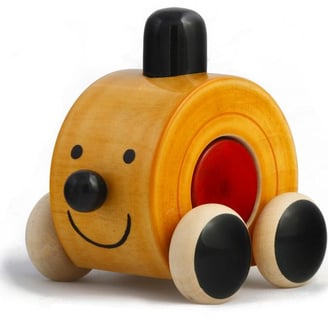
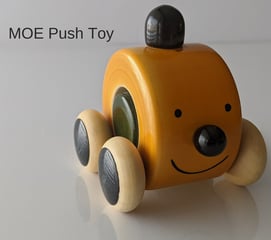
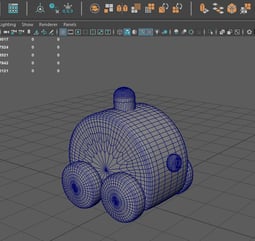
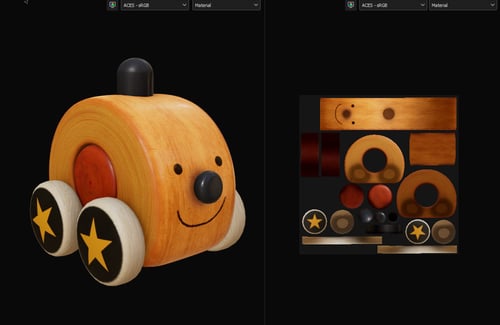
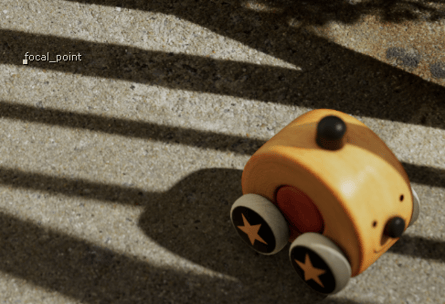
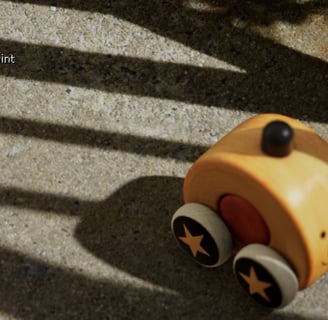
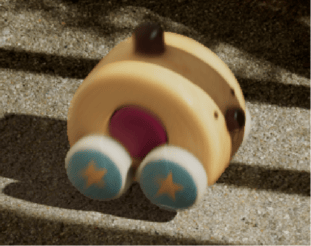
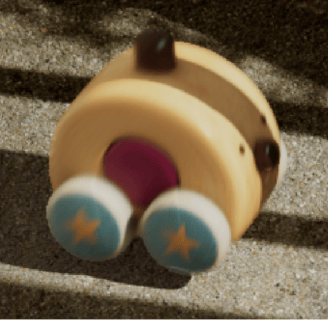
As I began modeling the actual CG object, I decided to create a wooden toy car that would traverse through the shadow. I discovered a cute car as a reference, and proceeded to model the base mesh in Maya, followed by using boolean operations and topological adjustments in ZBrush.


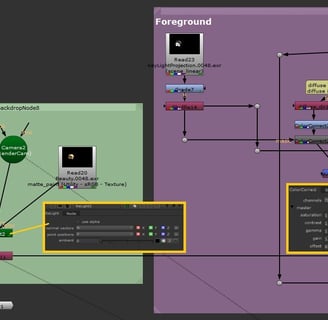
I applied the relighting technique introduced by the professor in class to reconstruct the lighting using Nuke. This method involves leveraging the N (normal) and P (position) channels of AOVs. Subsequently, I exported the RenderCam FBX file and integrated it into the Camera node, establishing a connection with the Relight node. it provides greater control over the key light in my composition.
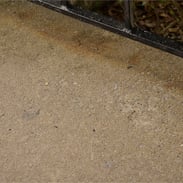
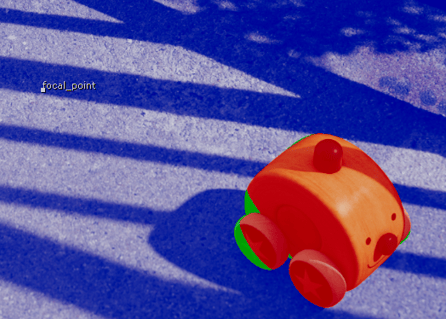
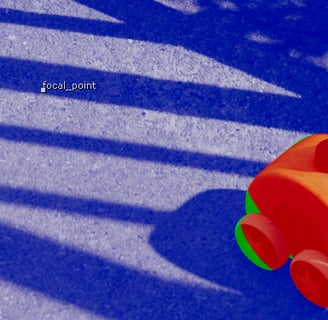
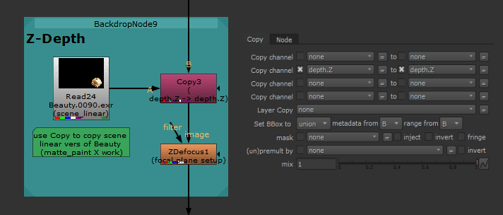
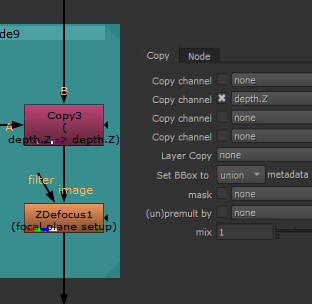
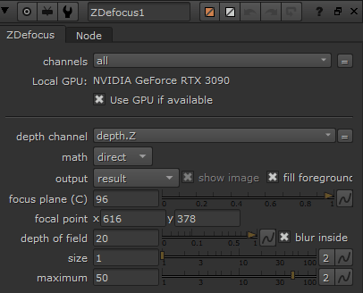
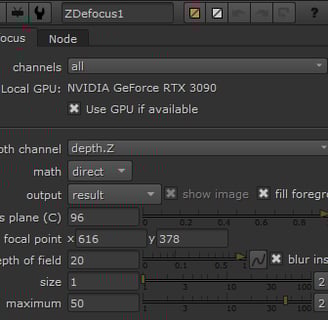
Based on class feedback, I will be making further adjustments to enhance the depth of the shadow projection. Additionally, I plan to refine the clean plate by removing elements such as rocks and twigs. Moreover, I will experiment with desaturating the toy to better integrate it with the background. In the refining process, I aim to incorporate Z-depth to the toy, particularly considering the Z defocus present in the right-lower corner of the clean plate, where the toy will intersect.
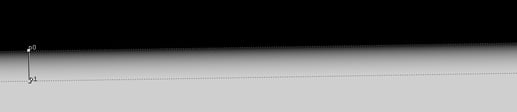
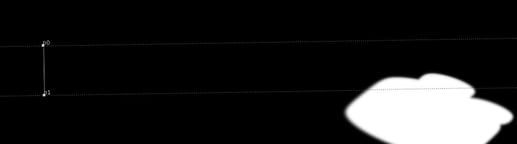
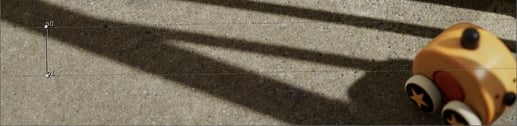
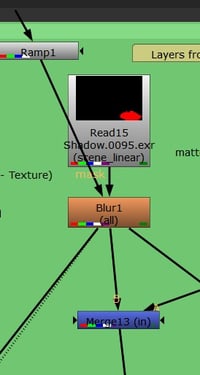
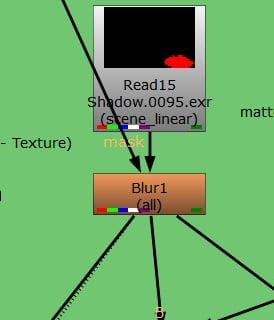
In the Professor's Office hours, I learned how to add depth of field to the shadow as well; actually, is how to fake it. Because the shadow layer is just a 2D image. I used the ramp node at the lower part of the area where the shadow that I wanted to have a blurring effect. I utilized the ramp node to target the lower portion of the scene where I aimed to introduce a blurring effect on the shadow of the car. Following this, I incorporated a Blur node beneath the Shadow layer and masked it to the Ramp node, adjusting the blur size to attain the desired effect.

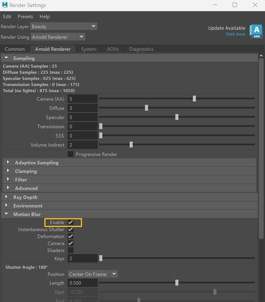
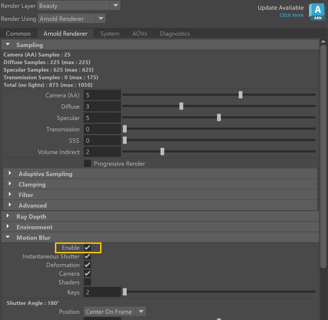
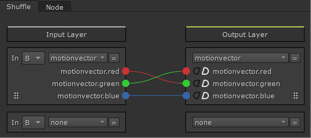
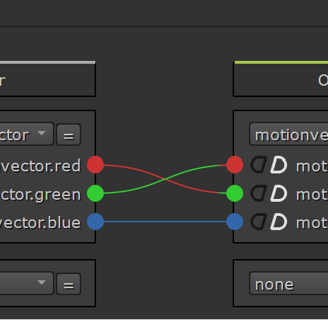
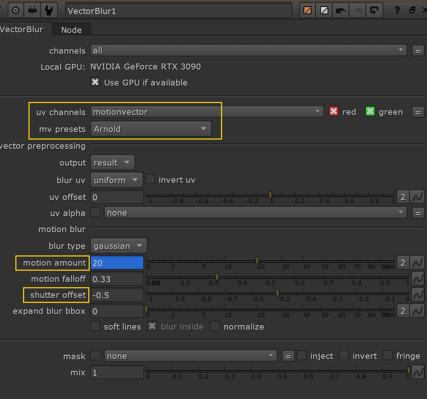
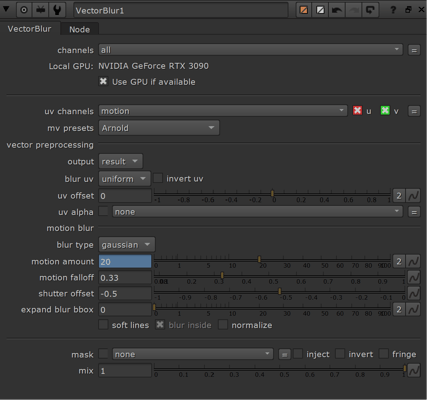
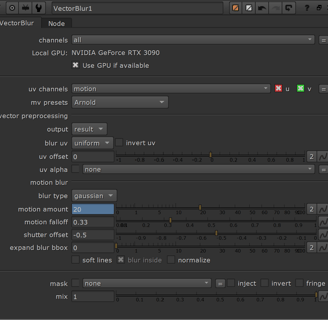
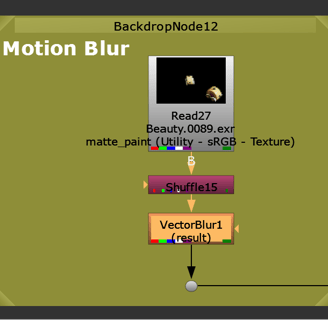
To incorporate motion blur into my toy car animations, I implemented a motion vector in the AOVs. In Maya, enabling motion blur under the Motion Blur tab in the render settings is essential before submitting the project to the Renderfarm. In Nuke, I utilized a VectorBlur node within the Beauty pass, selecting motionvector in uv channels and adjusting motion amount and shutter offset values. Additionally, I employed a Shuffle node to interchange the red and green channels of the motion vector between the Input and Output Layers, while ensuring the motionvector.blue in the Input Layer aligned with that in the Output Layer. Despite trying various motion vector presets, the resulting motion blur exhibited anomalies.
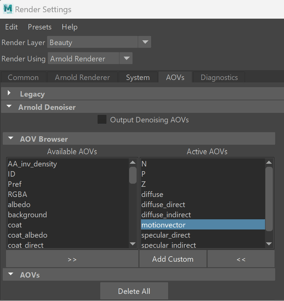
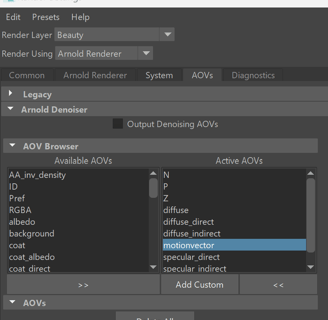
active motionvector in Maya
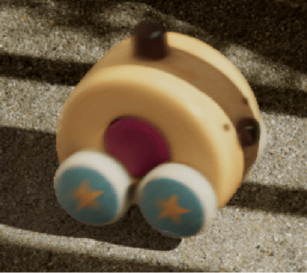
The first attempt shown a weird stretching motion blur.
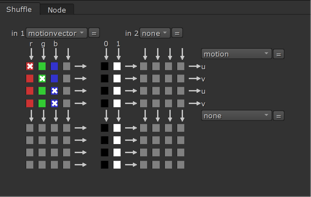
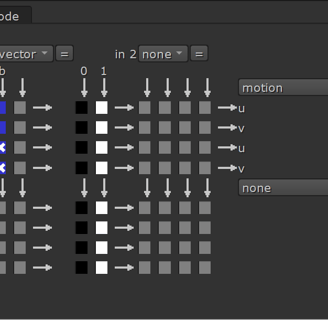
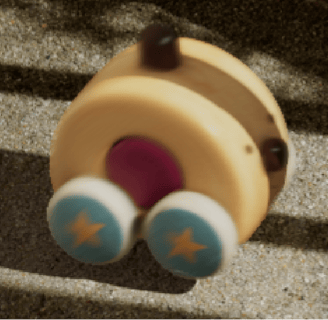
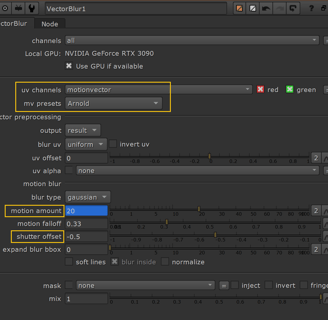
Following guidance from a YouTube tutorial, I explored an alternative approach using the old version of the Shuffle node (by clicking 'X' and entering 'Shuffle'). I introduced a new motion channel in the Output and swapped the uv channels from motionvector to motion. This adjustment successfully resolved the stretching effect in VectorBlur node. Furthermore, I implemented keyframing for the motion amount to demonstrate varying car speeds effectively.


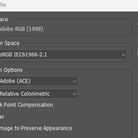
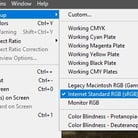
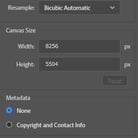
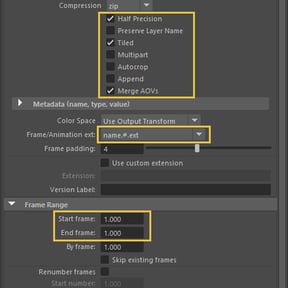
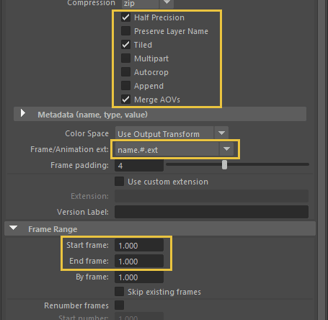
Export setting in Photoshop:
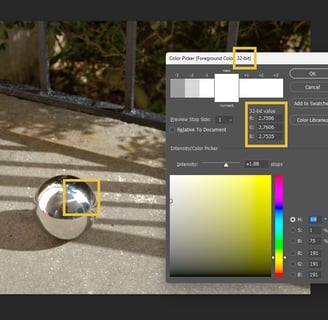
Upon exporting the photo I had edited, I observed a color shift, which I identified as a color space issue. Subsequently, I resolved this by adjusting the color space settings to sRGB before exporting from Photoshop, effectively rectifying the issue.