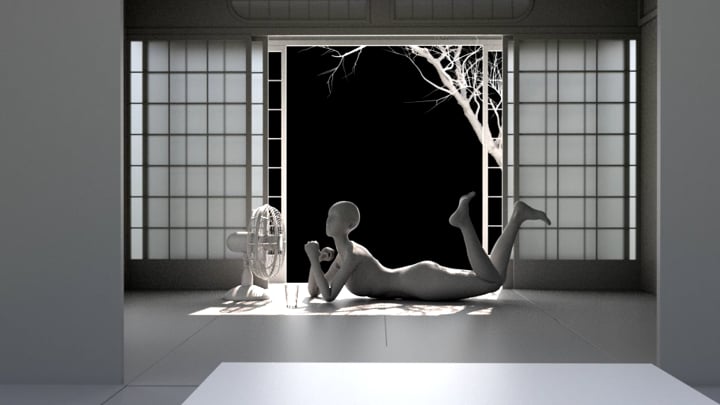
I'm currently adjusting the camera placement. Based on feedback from last week, I've made the interior scene darker to enhance contrast with the lighting. Additionally, I've incorporated light animations. I'd like to discuss further refinements to other camera shots with the professor in Class7.
After wrapping the UVs and applying textures from the 3D scan model, I noticed there's only one UV tile in 16k resolution. To balance resoluation quality and rendering time, I've decided to break it down into UDIM UV tiles. I polypainted the character using the original texture and exported the lowest subdivision into Maya to organize the UDIM layout. Then, I returned to ZBrush and utilized the polygroup function to export each UDIM color map individually.


Note: Duplicate the original body subtool with one UV tile before import the obj with UDIM tiles. To keep the subdiv when imported.


Today, I dedicated my time to texture testing in Maya. Alongside creating supplementary texture maps like the roughness and specular maps, I ensured their seamless export, mirroring the process for the Basecolor map. Additionally, I tackled the baking of the displacement map in ZBrush. To optimize workflow, I streamlined by decimating the highest subdivision in ZBrush, facilitating the baking of the Normal map in Substance Painter.
Furthermore, I addressed a specific issue using Mari, rectifying the skin beneath the foot. This involved delicately projecting a portion of the Basecolor map, compensating for the lack of bottom skin detail in the initial 3D scan version.


Following that, I exported the UV of the eye to Photoshop to ensure the iris scale matched perfectly. Additionally, I created a displacement map in ZBrush to introduce a sense of irregularity to the iris texture. Moreover, I applied a specular map to accentuate the bumps of the crypts of Fuchs, enhancing the iris's texture details and allowing light to reflect more dynamically off its surface.
For the cornea, I employed a color map similar to that of the iris, enhancing the gradient black border lines and incorporating a transparent hole at the center. Utilizing a gradient ramp, I achieved transparency at the center of the cornea, allowing for visibility through the iris.


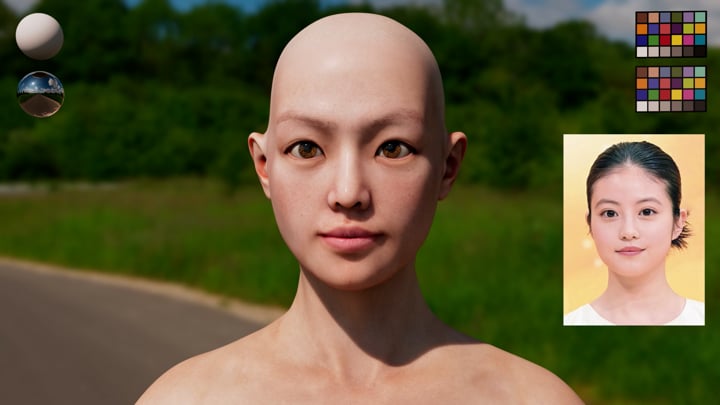
I found that the base color map from the package lacked depth, so I imported it into Substance Painter to enhance the color tones and apply makeup. I also refined the nails on the toes. Given that my scene is set on a hot summer afternoon, I added a red blush to her face and chest to convey the warmth. Additionally, I adjusted the roughness map to depict sweating and oiliness due to the weather.


Base color Displacement Roughness Specular Normal


Still Renders