I'm currently blocking the camera and adjusting lighting to emphasize the character's details. I've chosen a 50mm focal length and a low angle inspired by the movie 'Tokyo Story.' If time allows, I'll include additional camera angles to showcase more of the environment.
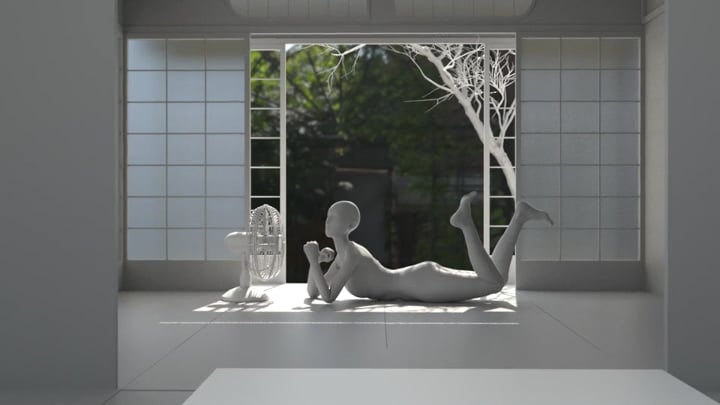
Fan model from CG trader; Tree model from polyHaven
I asked my friend Guanwen Wang, who specializes in 3D character design, to review my character sculpture for any necessary adjustments. He observed that the face of my character required some tweaks to correct the head anatomy. After making the fixes, there was a significant improvement in her appearance. Lastly, I plan to refine the character's overall look to resemble my reference, the Japanese actress Mio Imada.


Update 4 04/10/2024


Today, I'm focusing on sculpting realistic iris details to create the lifelike quality of the character's eyes. Using an iris texture, I project the colors onto the mesh and then mask it based on intensity. Next, I inflate the detail and refine it through sculpting techniques.


For my first attempt, I utilized Wrap to generate the skin texture detail and UV for my character derived from a 3D scanned model. I selected an Asian female character from the 3D Scan Store (https://www.3dscanstore.com/retopologised-body-models/animation-ready-body-scans/animation-ready-body-scan-female-11) as the source for my character's textures
Update 6 04/14/2024


Trying to closely align the purchased base mesh from the official website with my character in ZBrush. Then, exporting both meshes as OBJ files to import into Wrap. Starting the process of aligning corresponding points on both meshes to facilitate appropriate wrapping of UVs and textures. Once successfully wrapped, utilizing the Brush node to refine the UV mapping. Finally, exporting the wrapped model as an OBJ file and bringing it back into ZBrush to continue with the detailed project process.


