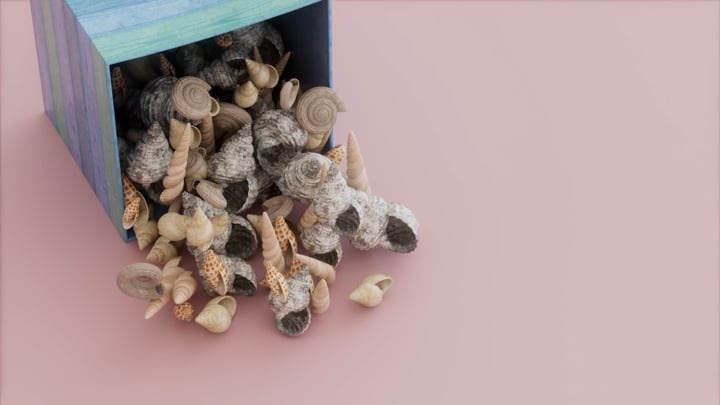
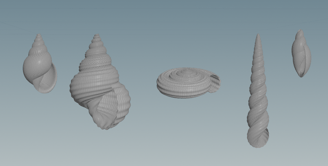
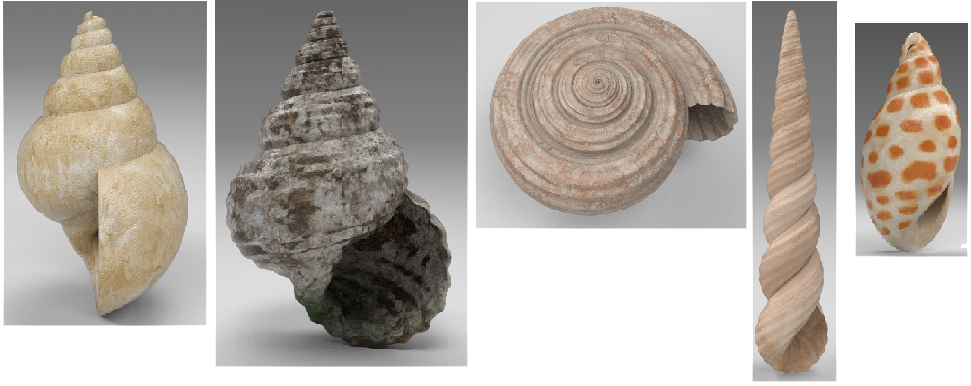
For this project, I had to make a seashell generator that can produce different types of seashells in Houdini. To achieve this I used both VOP and VEX in order to explore each, by trying to achieve the same result with each one.


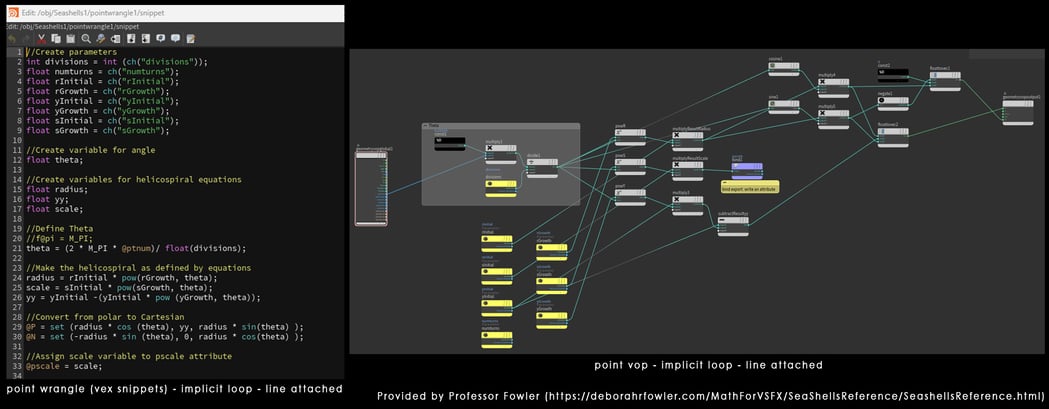
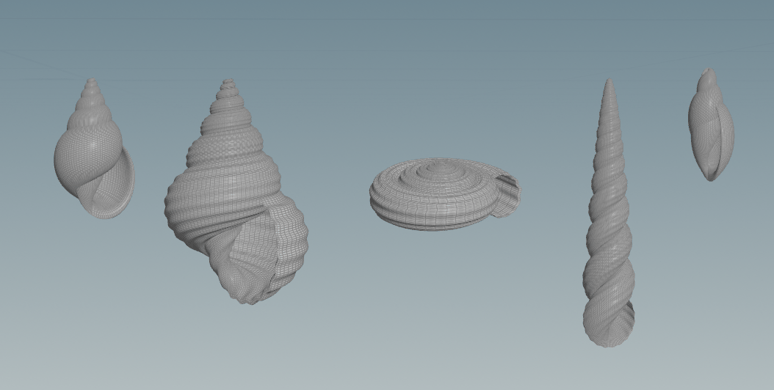
There are various parameters that the user can change to achieve different seashells when using the generator. Those parameters are linked to the VEX code and the VOP network. So, how do I get these parameters for the base shape of the shell? I used a line to create the point to feed Pointwrangle/Pointvop instead of creating the point inside it.


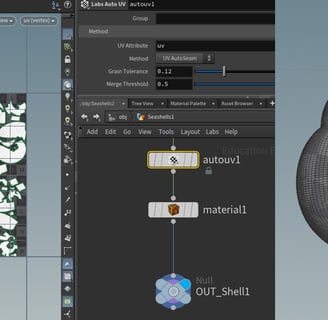
I also included a switch node so that the user can change between the VOP and the VEX. This will produce the same result.
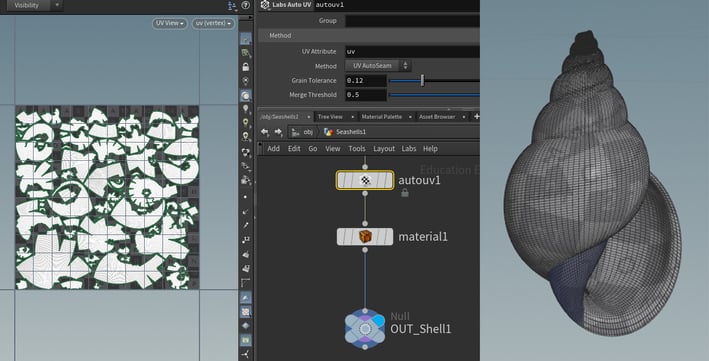
In order to take the mesh into Substance Painter, I tried multiple UV unwrapping nodes in Houdini, however, they all stretched and overlapped. Until I tried the Labs Auto UV, it worked! Not the best, but it's enough for me to do texturing in Substance Painter.
The other is I met was that I couldn't render out the texture map after doing the collision simulation. I had the same issue before in my VSFX721 class. At that time, I used a Mantra renderer and solved the issue by adding * ^Shop Material in the Attribute Delete node. However, it didn't work for the Redshift render. I found out I could render the texture without adding that expression, just simply add the Attribute Delete node without any touch.
How to let the color of the Mplay render match with the redshift render? Go to Redshift_ROP, open the MPlay preview, and set the MPlay Display Gamma to 1. Next, in the [Post Effects], make sure all the Color/LUT/Controls are checked.
Scaling plays a crucial role! In my initial render, I noticed that my seashells were falling in slow motion. It turned out that my world was enormous, with the box towering at approximately 40 meters high. To rectify this, I decided to rescale both the box and the seashells to redo the simulation. As a result, they now fall more naturally.
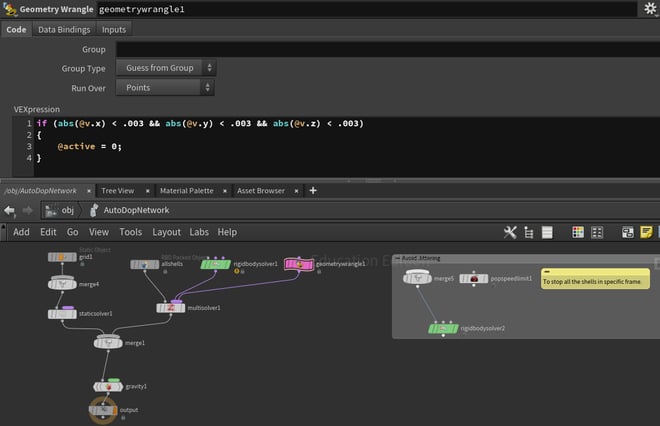
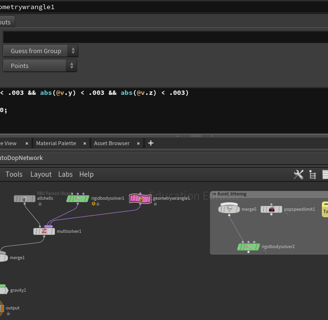
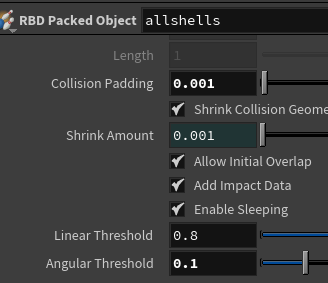
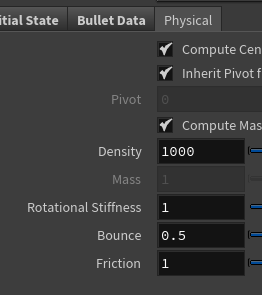
However, this correction brought about a new issue: the seashells started jittering when they piled up. To tackle this problem, I explored various solutions outlined on the professor's website (https://www.deborahrfowler.com/HoudiniResources/RBD-BasicsCollisionPadding.html). I experimented with altering the Collision Padding to 0.001, increasing substeps in the solver to 3, adjusting physical properties, reducing the value of the angular threshold, and even adding a popspeedlimit to halt the jittering at a specific frame. However, some of these methods yielded unnatural results.
The most effective approach I found was configuring the solver as a multisolver and dampening the velocity and/or angular velocity or simply setting the object to 'active = 0' to resolve the jittering issue.