Creating Tabletop BBQ in UE5 with Substance Suite
The organic material project "Tabletop BBQ" in the raw and cooked versions. I used Maya, Substance Designer, Substance Painter, and Unreal Engine 5.10. This work is one of the assignments of Real-Time Materials and Shaders at Savannah College of Art and Design (SCAD)
REAL-TIME MATERIALS AND TEXTURES
Candice Chou
3/15/20235 min read
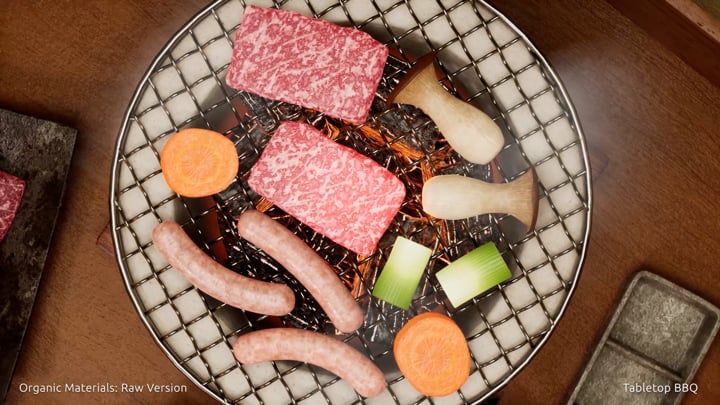
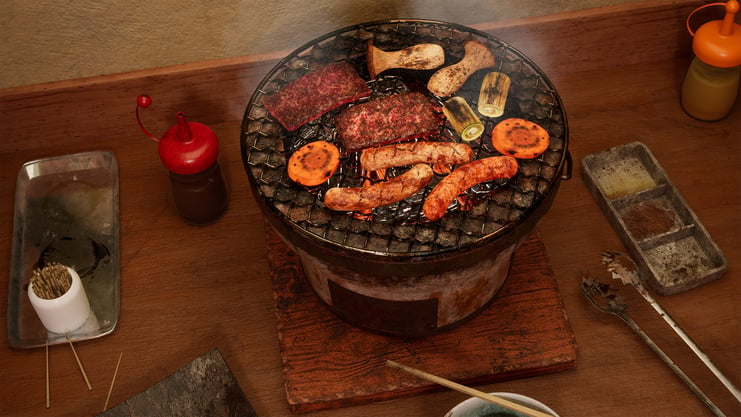
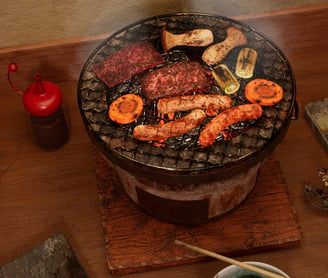
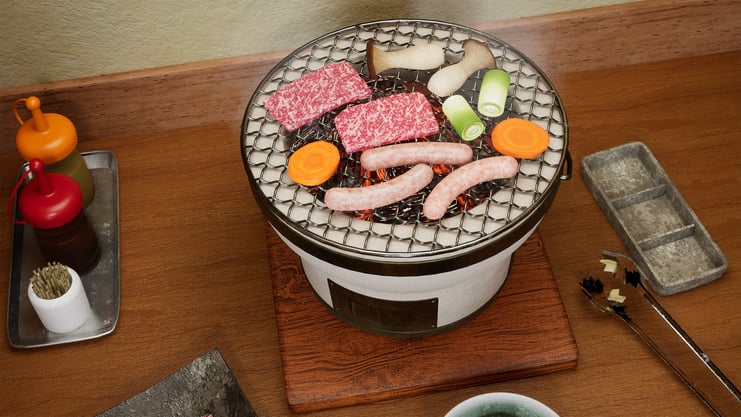
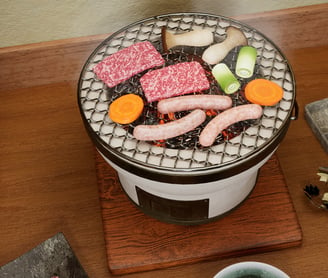
Final Render
Responsible for All Aspects
Software / Maya, SubstanceDesigner, Substance Painter, Zbrush
Renderer / Unreal Engine 5.0
Introduction
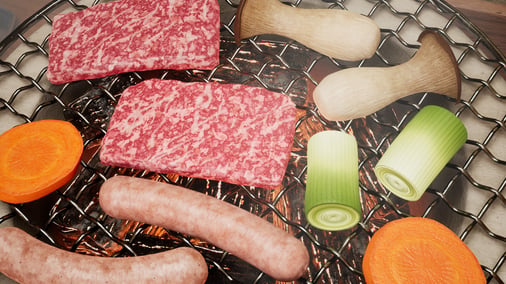
The utilization of Substance Designer and Substance Painter to present the features of organic BBQ ingredients. Such as the copious marbling of the Wagyu beef, the delicate translucency of each grain of the rice, in addition to the thick and elongated smooth, polished surface of king oyster mushroom, etc. In this project, I need to represent the characteristics of raw and cooked food ingredients based on the references, as well as set up the scene and render it in Unreal Engine 5.
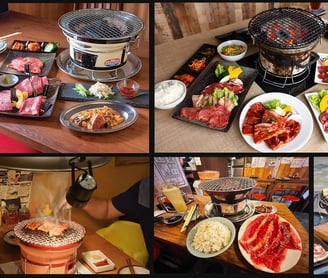
Inspiration
The main goal of the organic materials project is using Subsurface Scattering to create a convincing and lifelike sense of materials. In my opinion, food is an interesting topic for this project, because it presents a unique challenge in recreating the natural and irregular patterns and textures found in real-life organic materials. Making it a satisfying accomplishment to successfully create a convincing texture. Therefore, I decided to create a scene of Japanese Tabletop BBQ called しちりん(Shichirin). Shichirin is a traditional Japanese tabletop charcoal grill used for cooking food such as meat, seafood, and vegetables. It is a small, portable grill that is typically made of ceramic or clay and is designed to be used indoors or outdoors. It is often used for Yakiniku, a style of Japanese barbecue where guests cook their own food at the table.
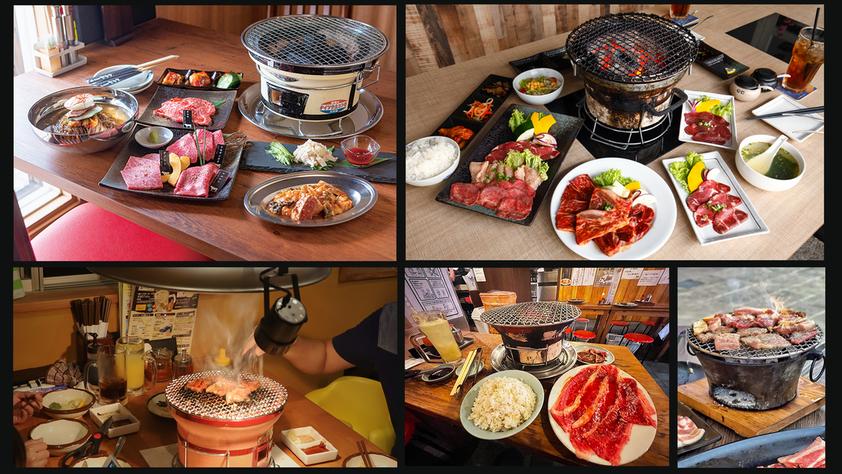
Researching Food References
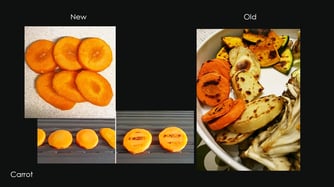
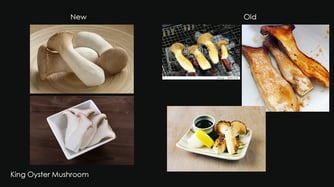
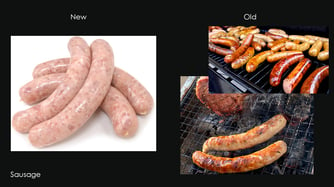
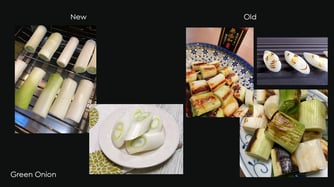
In this project, I have to create at least six different materials in total. Because different foods show different cooked features, it may be beneficial to consider multiple food ingredients in this situation. Hence, I researched various food ingredients which show distinct burned/ cooked marks. The authentic nature of Japanese Tabletop BBQ features diverse meats and vegetables. Ultimately, I chose green onions, carrots, sausage, Wagyu beef, rice and king oyster mushrooms as my subject matter.
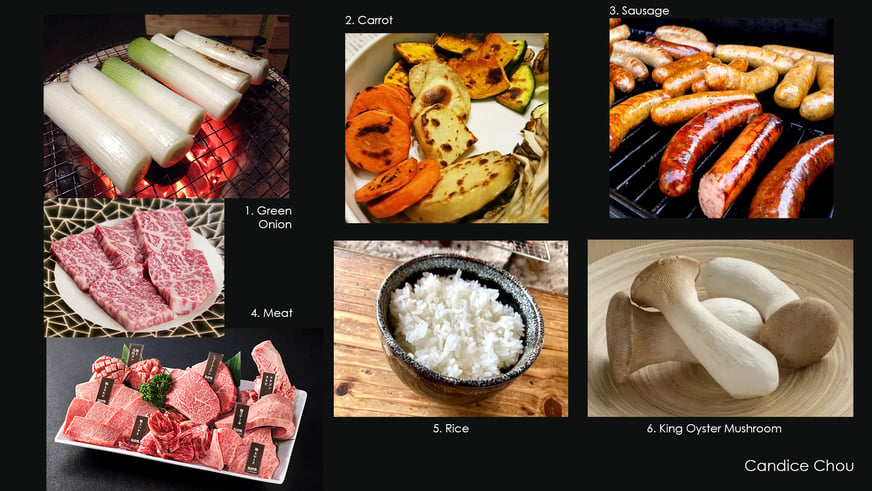
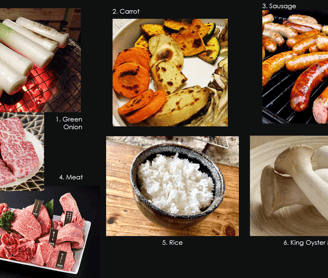
Here are the reference sheets show the comparisons of before and after alternation of these organic materials. I will base my design choices on these references to reproduce the foods through Substance Suite.
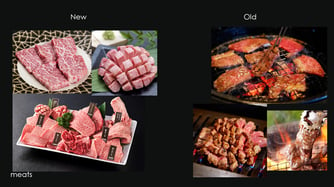

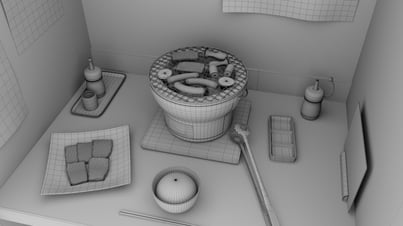
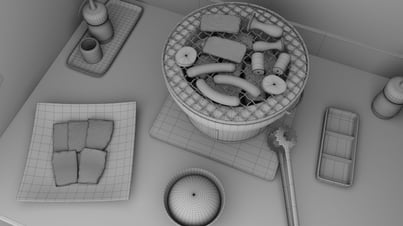
Step 1: Model Preparation
I modeled the food meshes from Autodesk Maya. The foods that I chose are basically made of simple shapes. Be that as it may, it appears that the mesh for the meats need organic, irregular shapes on the edges rather than just beveled edges made in Maya. For this reason, I brought the simple meat models into Zbrush to sculpt the meat-like meshes.
Work Process
Step 2: Camera Movement Previz
I modeled the food meshes from Autodesk Maya. The foods that I chose are basically made of simple shapes. Be that as it may, it appears that the mesh for the meats need organic, irregular shapes on the edges rather than just beveled edges made in Maya. For this reason, I brought the simple meat models into Zbrush to sculpt the meat-like meshes.
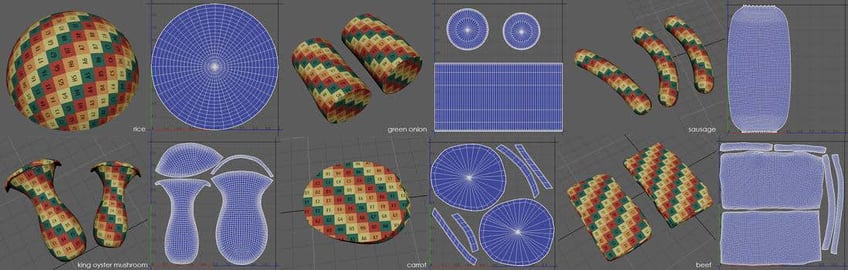
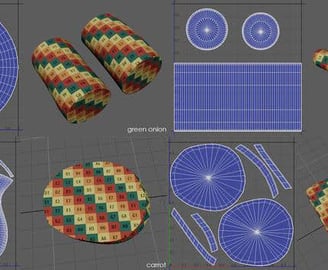
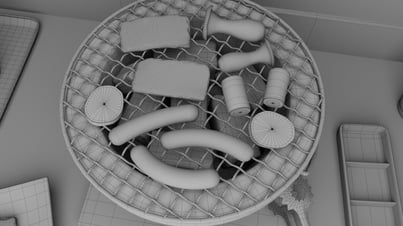
Step 3: UV Mapping
UV mapping is one of the most important processes in the look development workflow. In order to result in higher quality and more realistic final renderings, I utilized all of the UV shell area (Usually from 0 to 1) as much as I could and kept the same Texel Density for each UV shell. Additionally, I used UV checker in 2K resolution to ensure that the textures applied to the 3D model are being projected correctly onto the model's surface. Moreover, in order to give the duplicate meshes different textures, I assigned them with separate materials to allow me to develop various outlooks instead of using the same materials.
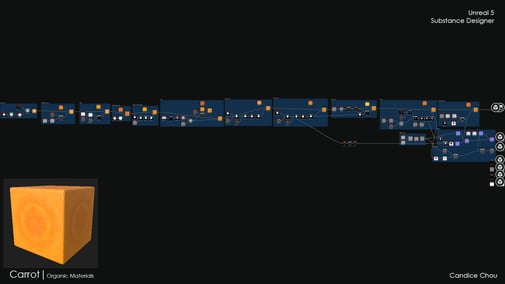
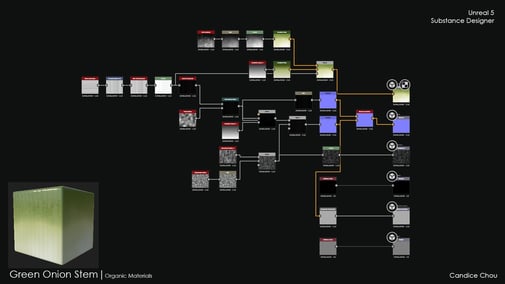
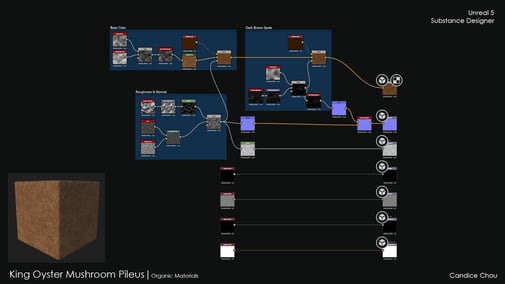
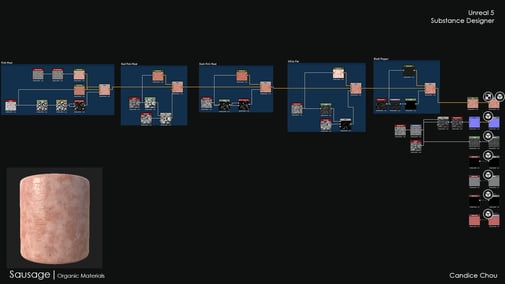

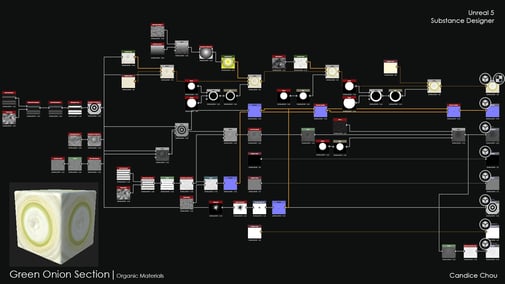
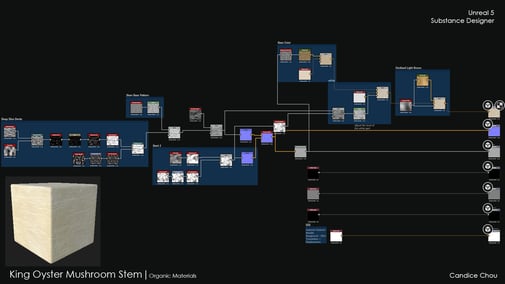
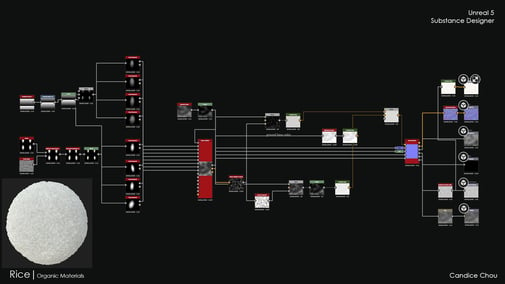
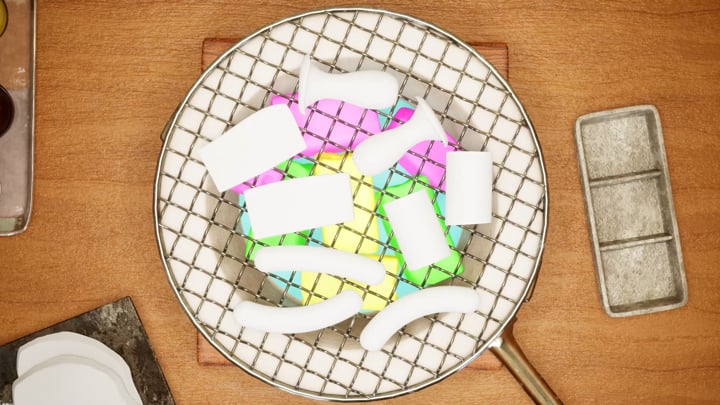
Step 4: Making of the raw materials in Substance Designer
I have built all the base materials for the food ingredients inside Substance Designer. Since most of these materials contain SSS layers, I switched the default material presets to "Metallic Roughness - SSS," which allowed me to control the SSS value using all the function nodes inside Designer. I have created total of 8 organic materials depending on how I separated my mesh into different sessions.
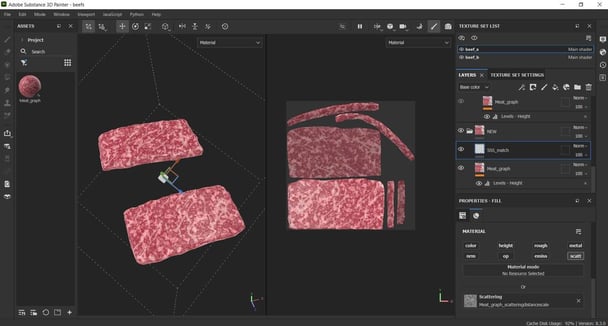
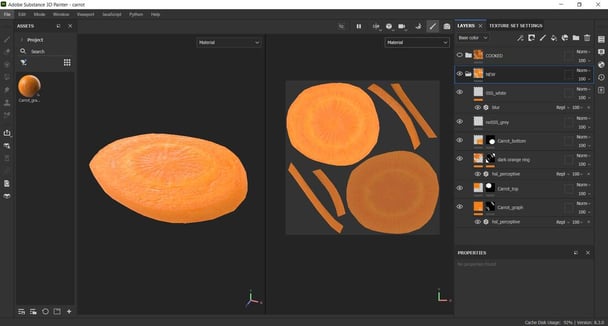
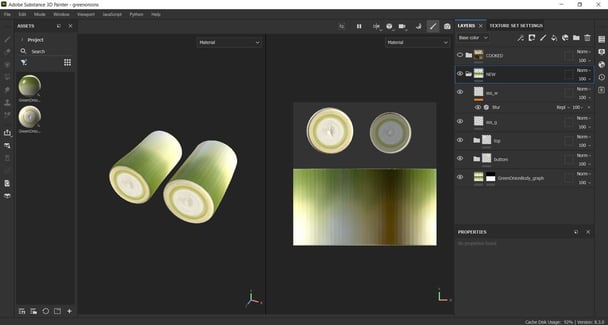
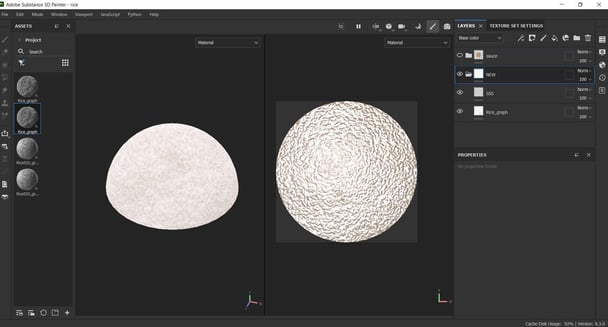
Step 5: Making of the raw materials in Substance Painter
After bringing the models and the SBSAR file that I created into Substance Painter. Before assign my raw textures to my meshes, I changed my shader mode into 'pbr-metal-rough' so as to add the Scattering Channel; in addition, I enabled Subsurface Scattering Parameters (Scattering Type changed to Skin) in Shader Settings and activated Subsurface Scattering in the Display Settings. After all settings were done, I assigned the materials to the meshes. I did not tweak the raw version too much in Substance Painter. The most I did was mask out my mesh with the subsurface scattering.


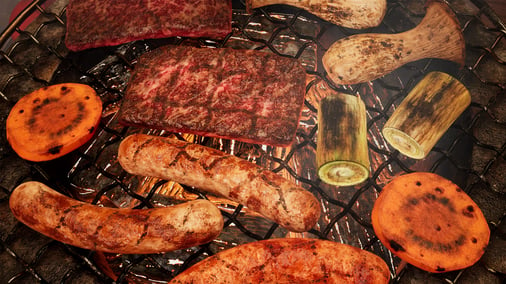
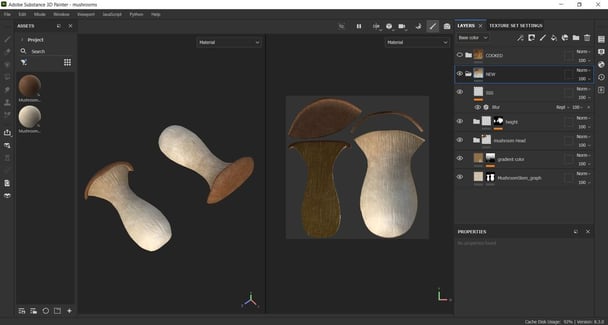
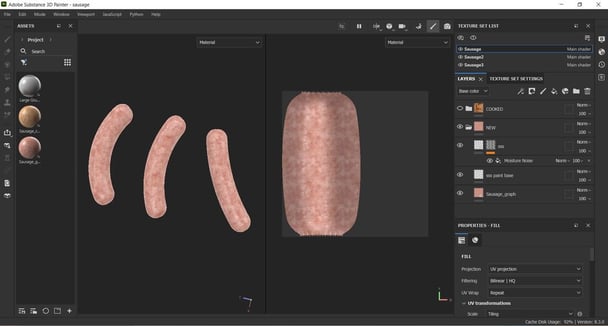
Step 6: Making of the cooked materials in Substance Painter
References are essential for the texturing process as they provide a visual guide for me to create accurate and realistic textures. Without references, the textures may appear unrealistic, inaccurate, or inconsistent, which can detract from the overall quality of the final product. Therefore, it is important to look at the reference images while working on the texturing of the cooked version of the food.


Setting SSS inside Unreal Engine 5
In Unreal Engine, there are several shading modes that represent certain material types, including Two Sided Foliage, Subsurface and Subsurface Profile, which could enable the scattering results. In my project, Subsurface and Subsurface Profile shading modes were used the most, because using them allowed me to get a prominent outcome for the meat shader.
Step 7: Lighting in Unreal Engine 5
I created two tons of lighting in the raw and cooked version for creating a specific mood and atmosphere. For the raw version, I used bright, cool lighting to convey the person has just started the meal when the store is just open. For the cooked version, I used warm colors and low lighting to show the person who was at the end of the meal. Overall, lighting is a powerful tool that can help convey storytelling elements in visual media and is an important aspect of creating a cohesive and immersive experience for the audience.


Step 8: Rendering
In this project, I used Raytracing to produce a more realistic and visually stunning scene. Ray tracing can help me create more realistic and immersive environments, while also simplifying the workflow and improving performance.
Final thoughts
Overall, learning Substance Suite and creating a scene by using the materials that I made is an exciting journey that can lead to new discoveries and growth. With its powerful features and extensive documentation, Substance Suite and Unreal Engine 5 offer a comprehensive toolset for material creation and visualization, both essential skills for any artist or game developer who wants to create immersive and engaging experiences.
